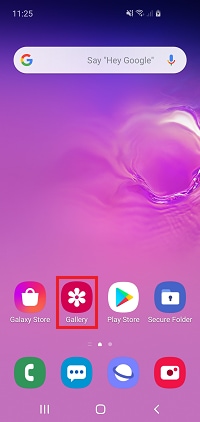
How do I use the Gallery app on my Galaxy device?
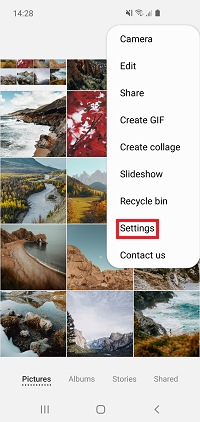
The Gallery app is the perfect place to organise all of your videos and photos. Everything you capture from the camera on your phone will automatically be saved to the gallery, but you can also add in or download photos so that you can store all of your memories in the same place.
If you want greater control over how your images and videos look, the Gallery has a full suite of editing options from filters and stickers to colour tools and background music.
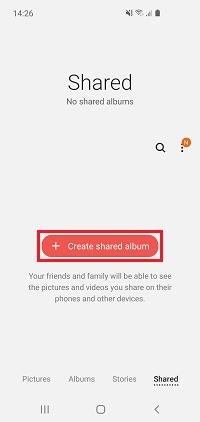
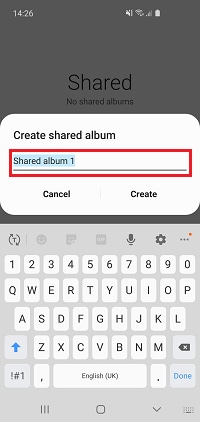
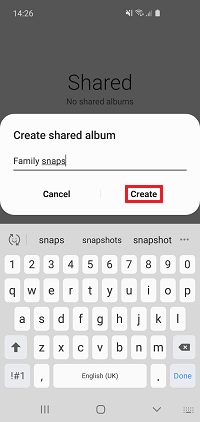
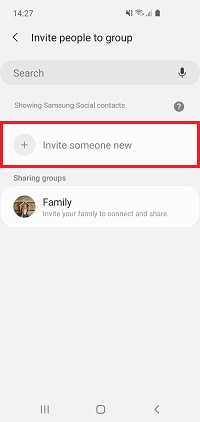
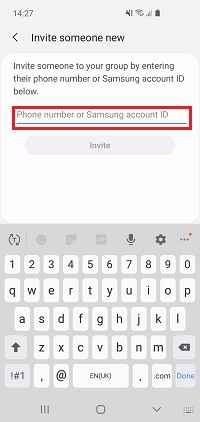
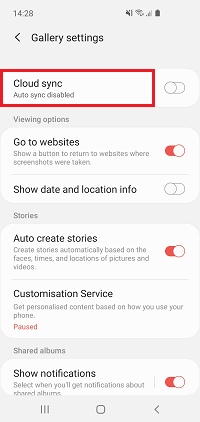
The Gallery app can connect to the Samsung Cloud, making it really easy to share your unforgettable moments across all of your devices. You can also create shared albums so that all of your loved ones can follow along with your adventures, no matter where you are in the world.

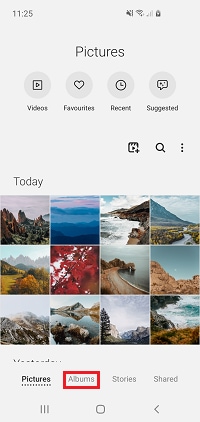
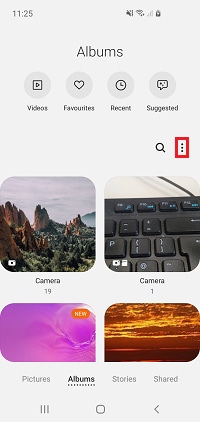
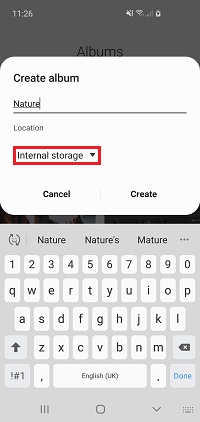
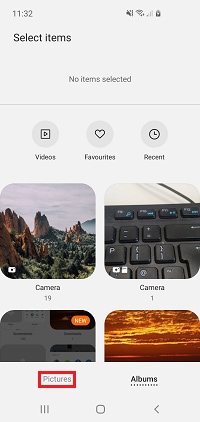
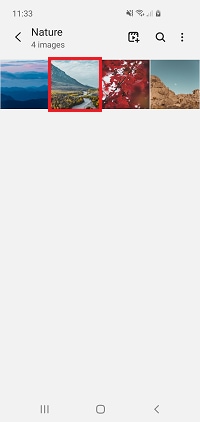
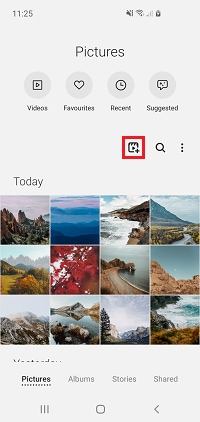
Want to quickly see all your photos from last years unforgettable holiday? Albums help you to categorise all your photos and videos so that you can easily keep everything in order. Some albums may be created or suggested for you automatically but you can also create your own albums.

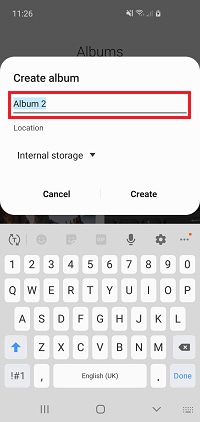
Please note: you will only be able to choose where to save the album if you have an SD card in your device
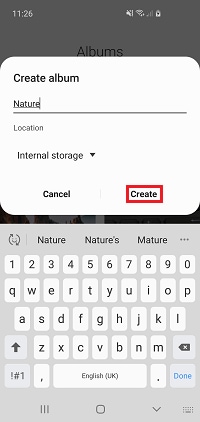
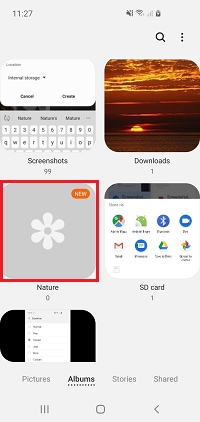
Your album will be added to the Albums section.
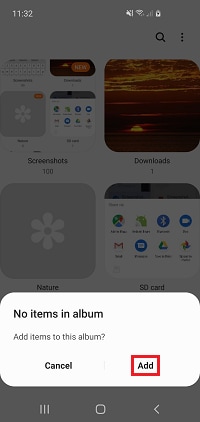


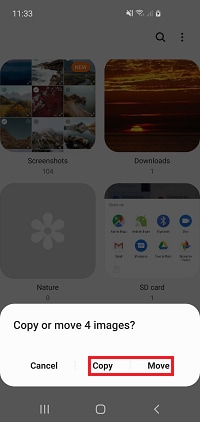
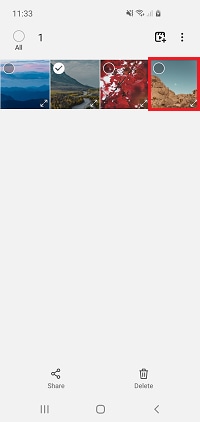
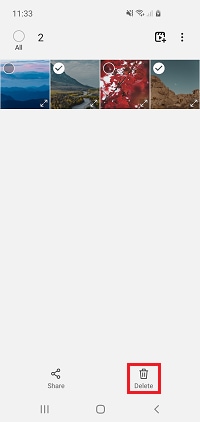
If you've added an image accidentally or no longer want an image in your album you can delete it.
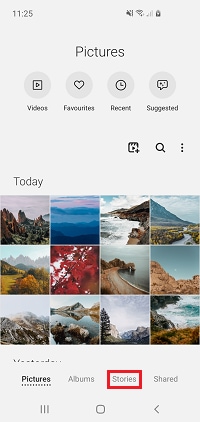
Stories give you everything you need to enhance your images and create something even more shareable. You can use stories in a similar way to albums, helping you to organise you image and videos but you can also use stories to turn your images into collages and GIFs.
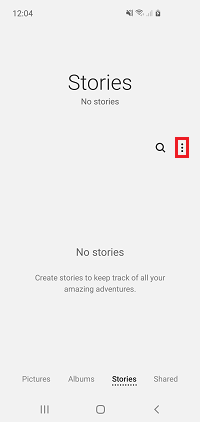

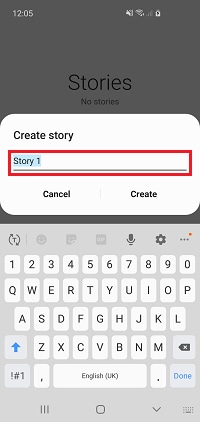
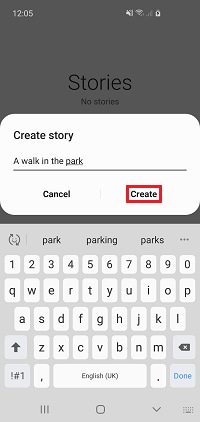
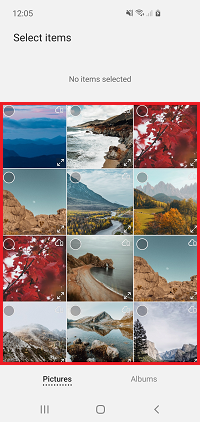

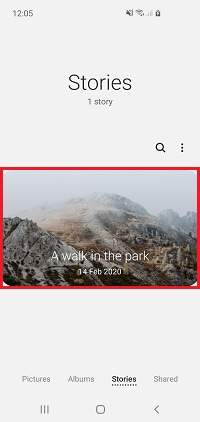
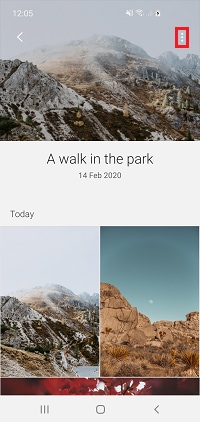
Your story will be added to the Stories section of the Gallery app but you can continue adding or removing images.
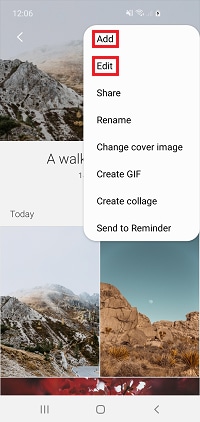
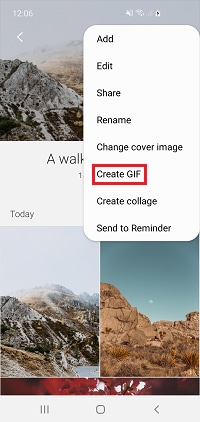
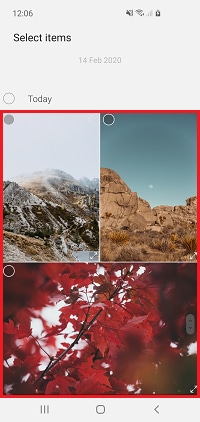
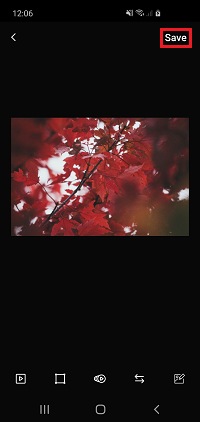
If you'd like to make your media even more interesting you can turn it into collages or GIFs.
Making a GIF


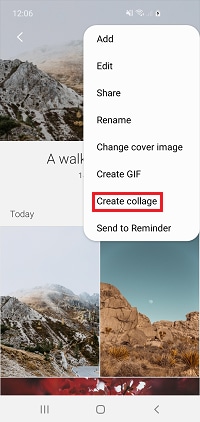
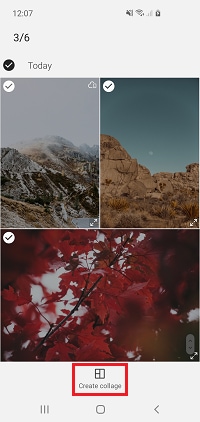
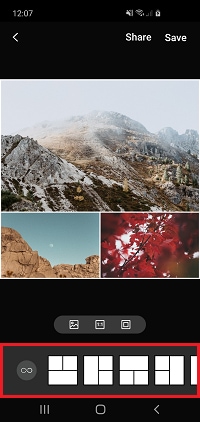
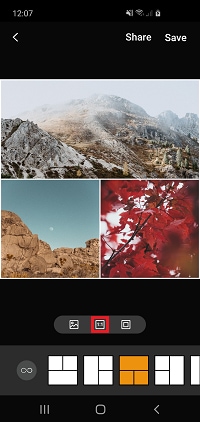
Making a collage


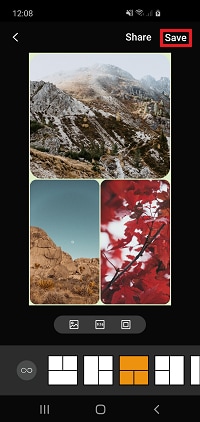
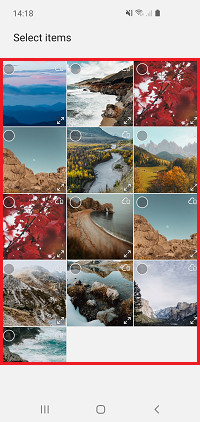
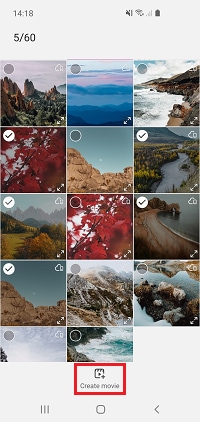
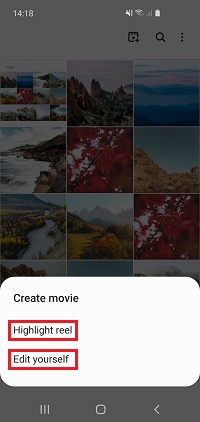
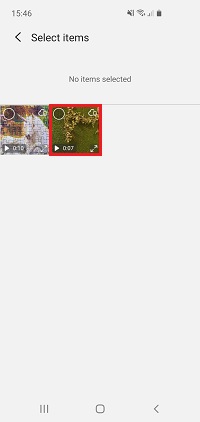
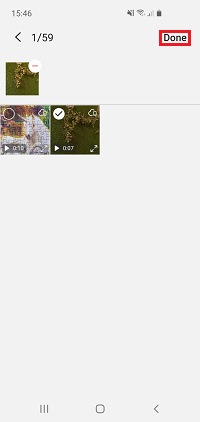
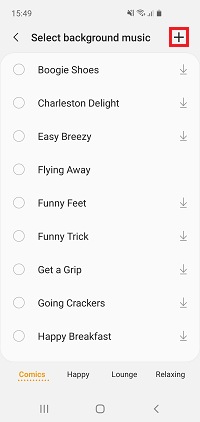
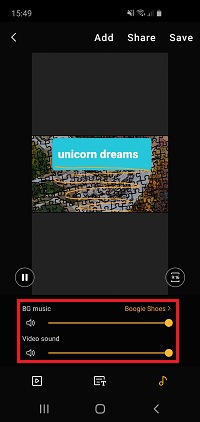
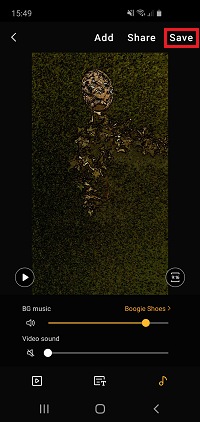
Want to make sharing your favourite snaps a little more interesting? Movies let you piece together images and videos into a moving sequence. Creating a movie couldn't be easier. You can choose to have the Gallery app create a highlight reel, or you can edit the media together yourself to have complete creative control.
This feature has previously been called video collage and stories.
Your Galaxy device can take incredible photos and videos that you will want to share with your friends and family. The Gallery app makes sharing your content super easy through any of your preferred apps.


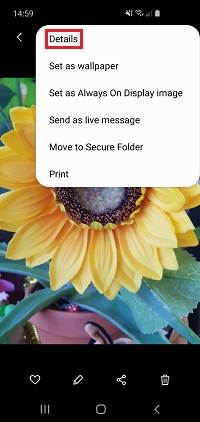
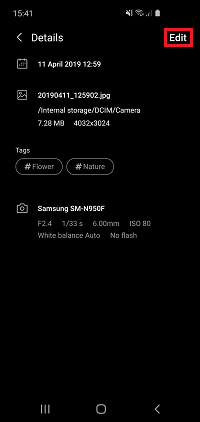
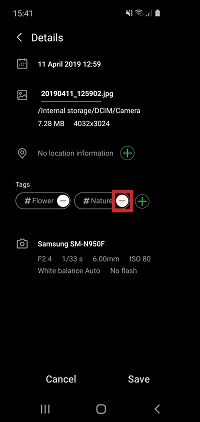
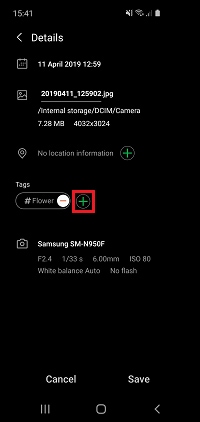
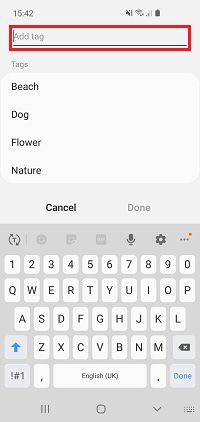
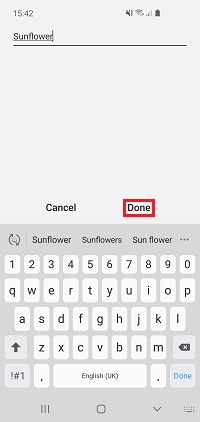
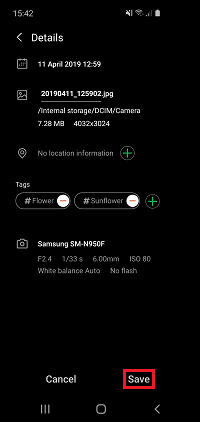
The Gallery app will automatically assign tags to many of your photos by analysing what is in the image. This can help you sort through your photos, create an album of similar images or search for a specific photo. If a tag has been assigned incorrectly or you want to give a photo a new tag you can do so through the options.

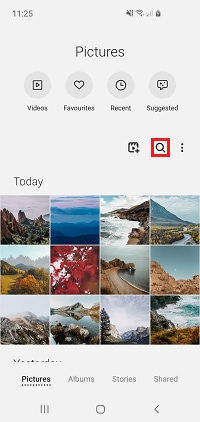
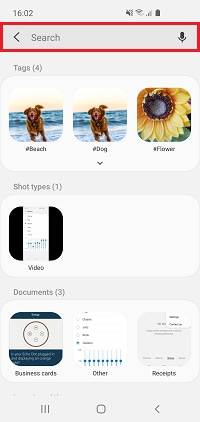
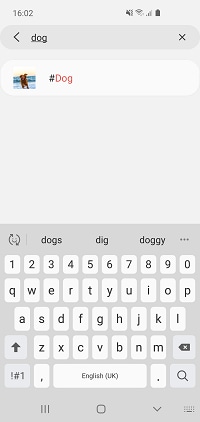
The search function on your Galaxy device takes the needle out of the haystack and places it straight into your hand. You can use the search in the Gallery app to quickly find specific photos and videos. Search will automatically organise some of your media in different categories but you can also search for specific tags, the location you took the picture or what is in the image.
Some of your content will be automatically categorised.
The days of passing around a photo album to your family and friends may be gone but you can still share all your favourite photos and videos with your loved ones. Your friends and family can see all the content that you add to a shared album on their own device, helping you keep connected.


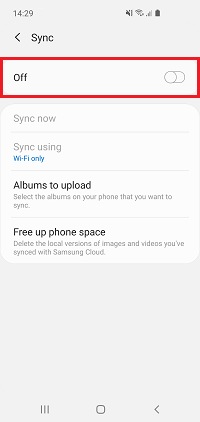
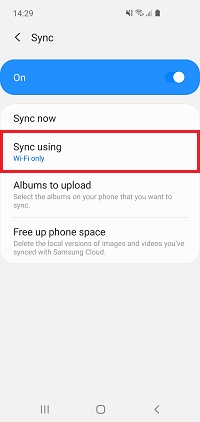
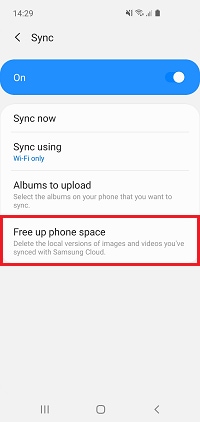
The cloud keeps all your devices connected, making sure that all of your files can be accessed no matter what you are using and where you are. You can sync your photos from the Gallery so that you can easily view them across all your devices.


There are loads of different ways that you can send a photo from your device. Using email, Bluetooth or the cloud is great for sending one or two photos but it can become a pain if you want to transfer your entire gallery.
The easiest way to send a group of photos at once is by connecting to your PC with a USB cable. Find out in detail how to transfer photos from your device to PC with a USB cable.
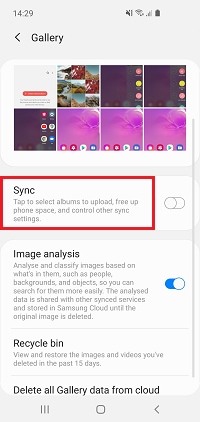
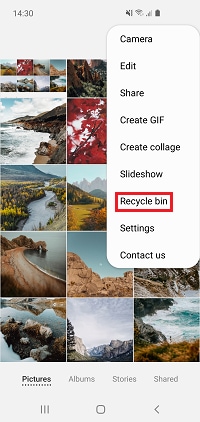
Usually, when you delete a photo it is gone forever, however, you can turn on a recycle bin that will hold your deleted items for 15 days. Perfect for when you have a change of mind. You will have to turn on the recycle bin before it can be used.
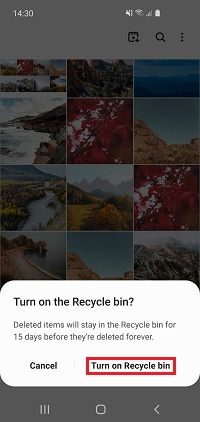
The recycle bin has now been turned on. Any deleted images will be stored in the recycle bin for 15 days before they are permanently deleted.

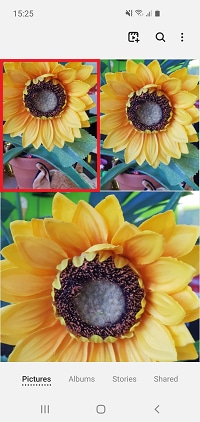
Editing your photos and videos
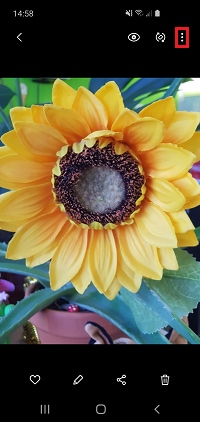
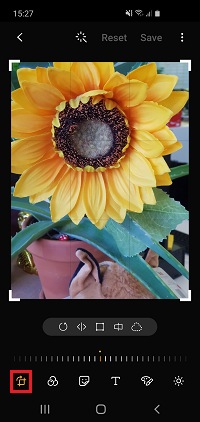
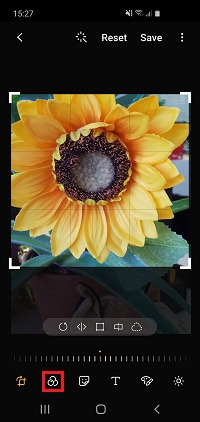
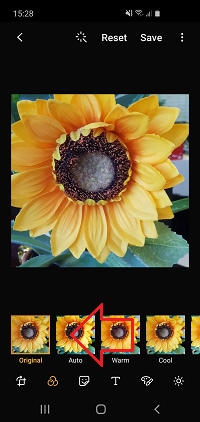
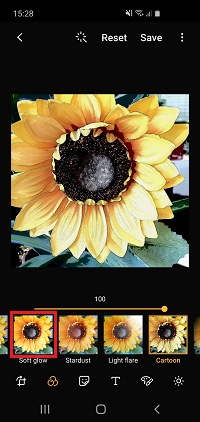
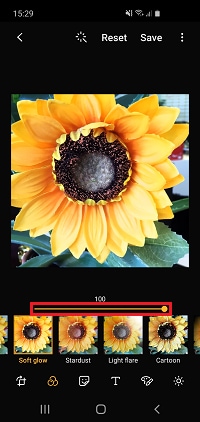
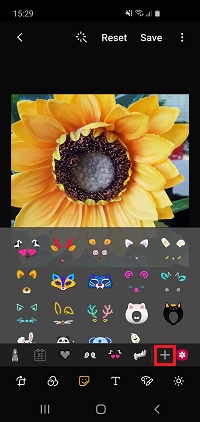
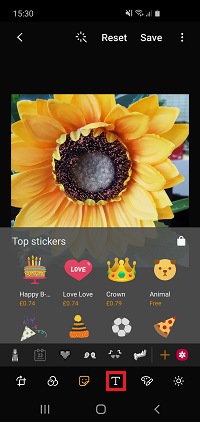
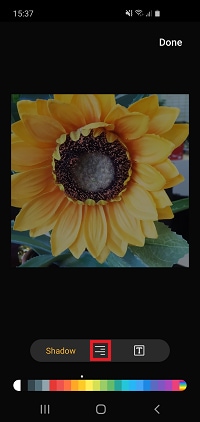
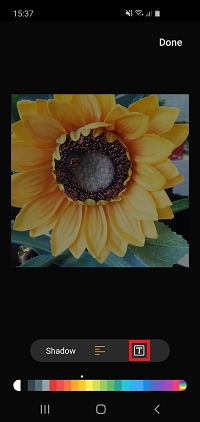
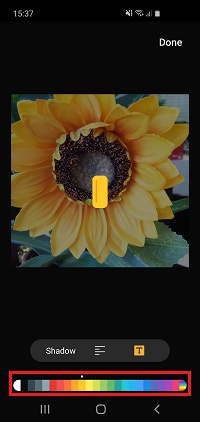
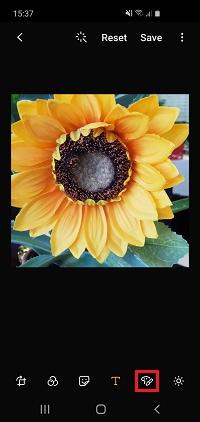
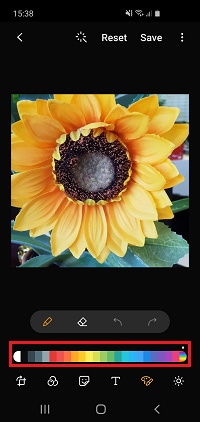
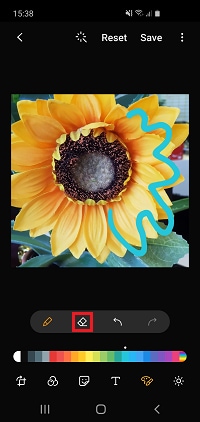
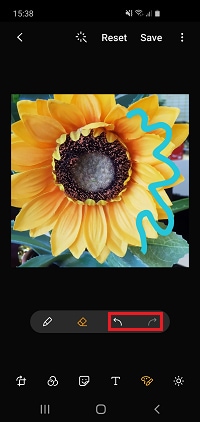
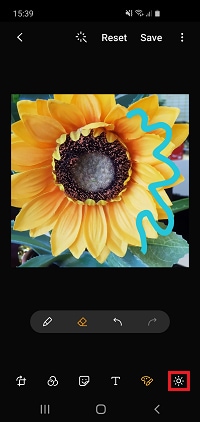
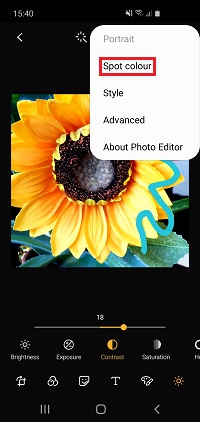
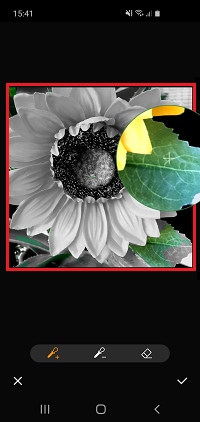
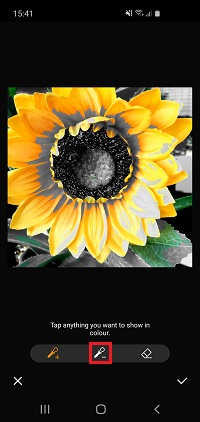
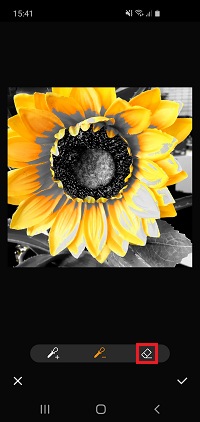
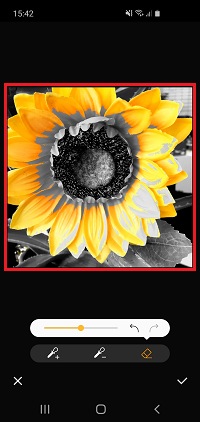
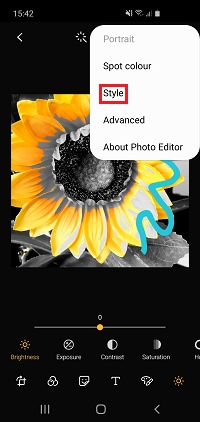
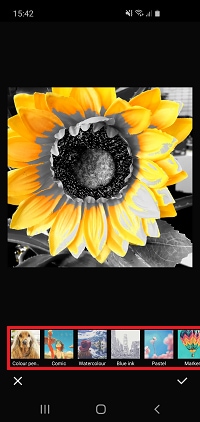
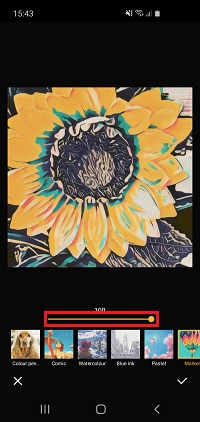
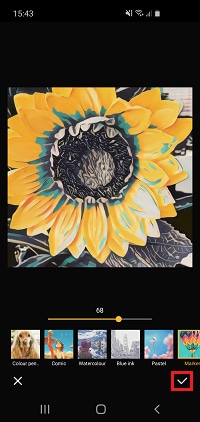
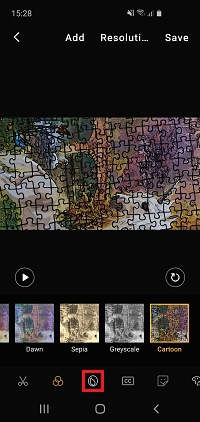
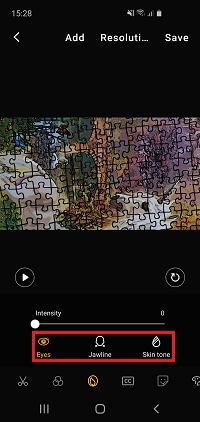
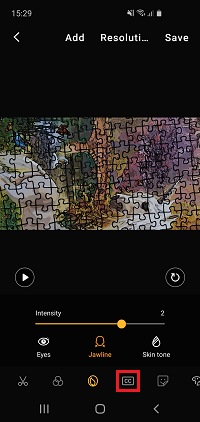
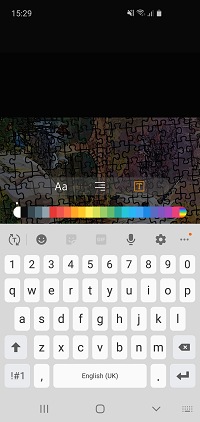
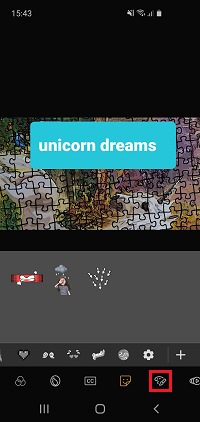
Your Galaxy device takes amazing pictures, but did you know that there is also a full suite of editing tools in the gallery app to help your bring your pictures to life? There is a huge range of options including filters, stickers, doodles and colour spot. Find out how to use the photo editing tools in detail below.

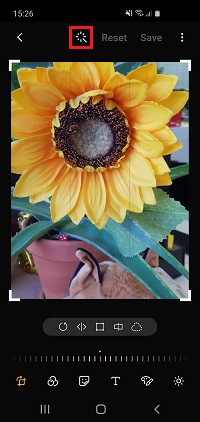
A number of editing tools will appear at the bottom of the screen.


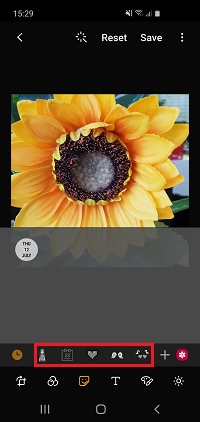
Please note: there may be additional charges to download some sticker packs


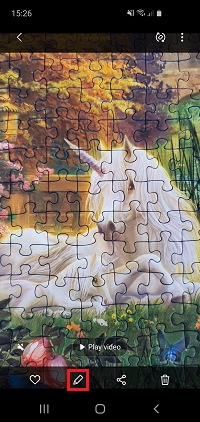
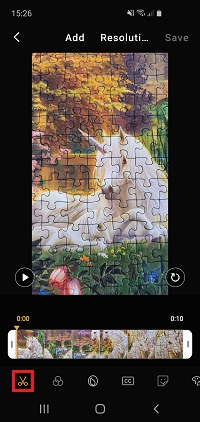
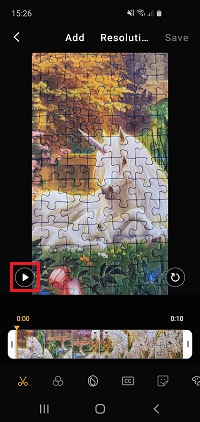
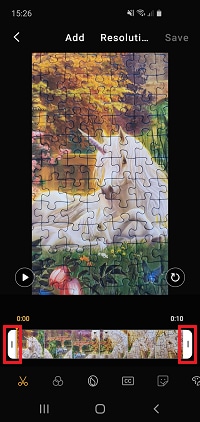
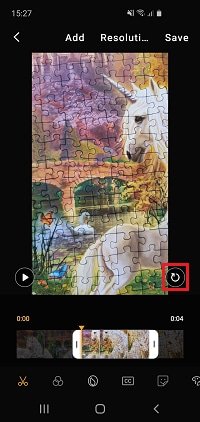
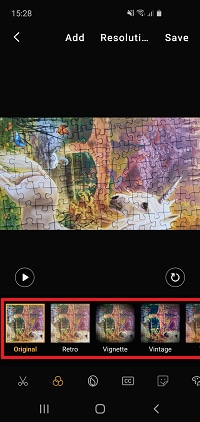
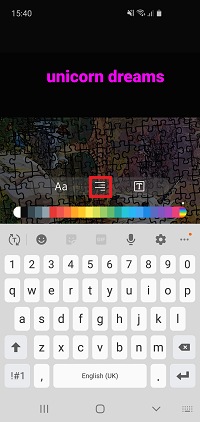
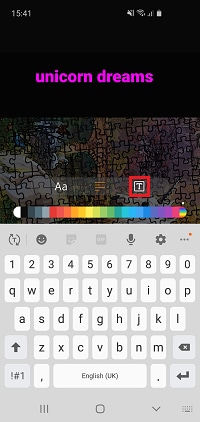
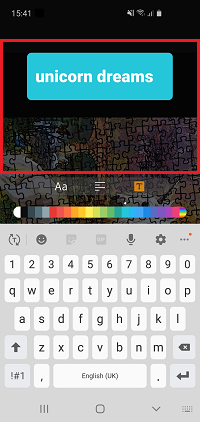
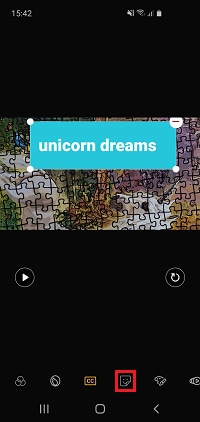
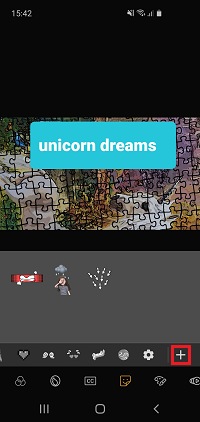
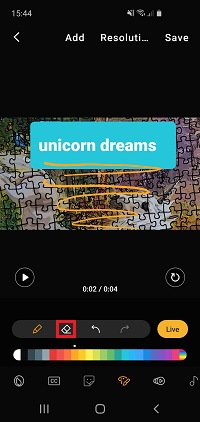
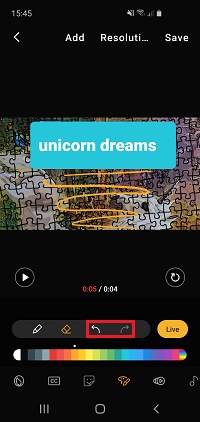
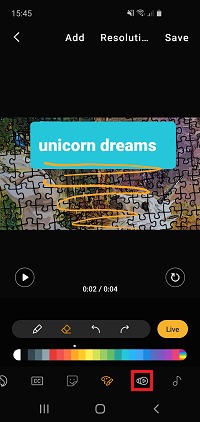
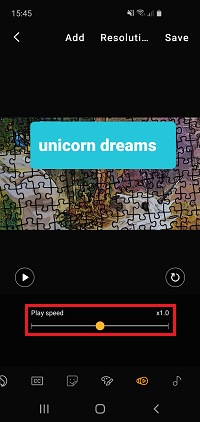
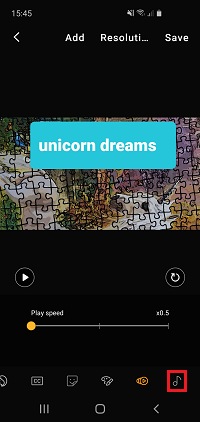
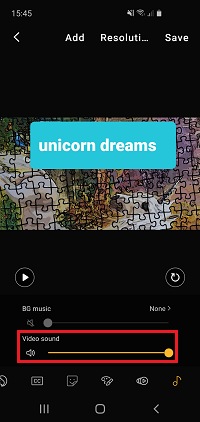
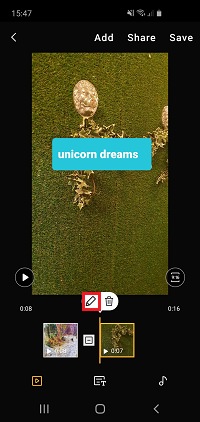
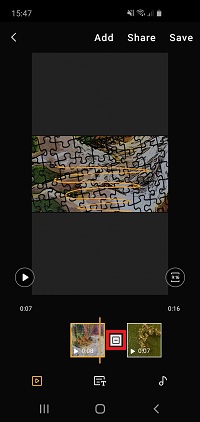
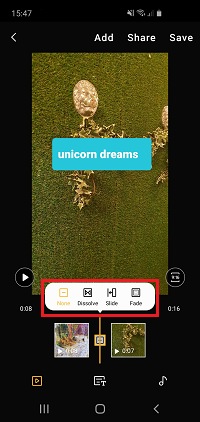
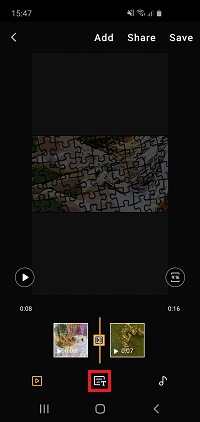
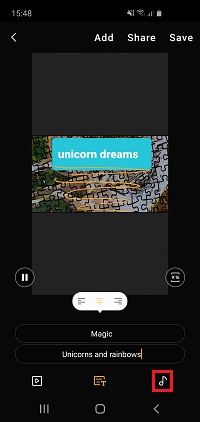
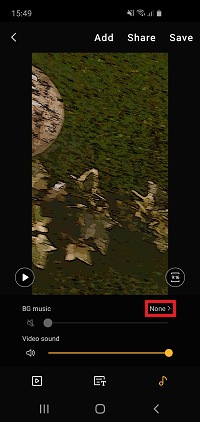
Your Galaxy device is a portable editing station, giving you all the tools you need to piece together great videos wherever you are. Using the in-built editor, you can trim videos, apply captions, change the speed and loads more. Find out how to use the video editing tools in detail below.


Please note: beauty tools will only work if a face can be detected in your video

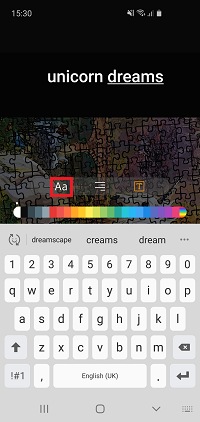
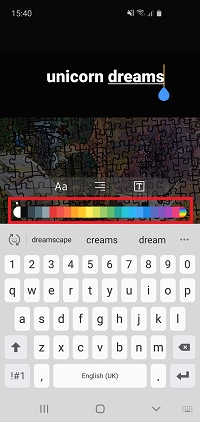
Please note: applying a background colour will change your text colour to white


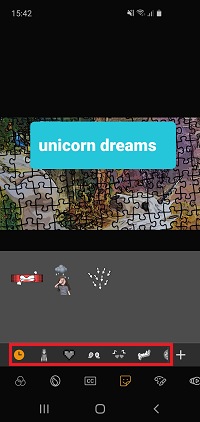
Please note: downloading some sticker packs may incur additional charges

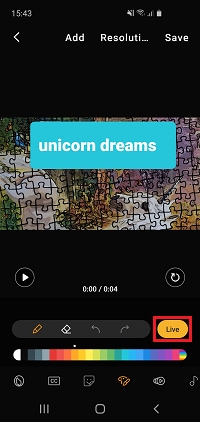
Please note: if you are creating a live drawing, erasing a mistake will also be shown live


If you're experiencing unusual behaviour on Samsung mobiles, tablets or wearables, you can send us an error report or ask us a question in the Samsung Members app.
This allows us to take a closer look at what is happening. The data is anonymised and only held for the duration of the investigation. Find out more about sending an error report through the Samsung Members app.
Thank you for your feedback!
Please answer all questions.