How to install your Samsung Bespoke AI Laundry Combo unit
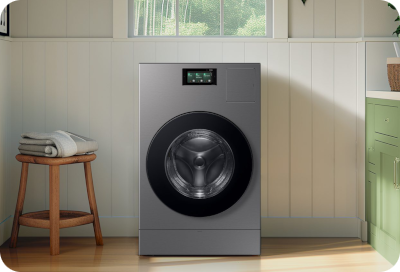
Embark on upgrading your home with the Samsung Bespoke AI Laundry Combo unit, which simplifies your laundry days with its cutting-edge technology. Our comprehensive guide walks you through each step of the installation process, from gathering the right tools to making the final setup touches. While installation might seem daunting, we've streamlined the instructions to ensure a smooth and enjoyable experience. For optimal efficiency and safety, we recommend considering professional installation.
Note: For detailed installation steps, always refer to your user manual.
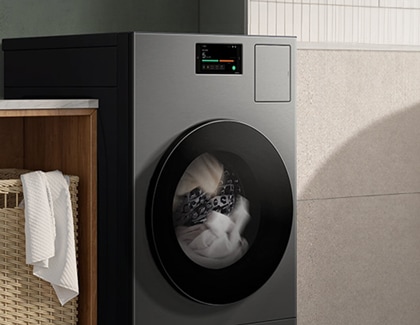
Before embarking on setting up your new Bespoke AI Laundry Combo, reviewing these essential safety tips and precautions is crucial:
- Enlist the help of a friend or family member to assist with unpacking and positioning the unit. Remove all packaging materials before installation.
- Always keep the unit upright—laying it down can cause operational failures.
- Avoid installing the unit at an angle or tipping it over to prevent lubricant from seeping into the refrigerant lines, which could damage the unit when powered.
- If the unit has been tipped over, wait an equivalent downtime before plugging it in to allow the oil to settle back.
- Install the unit on a stable, flat surface away from direct sunlight and heat sources to ensure optimal performance.
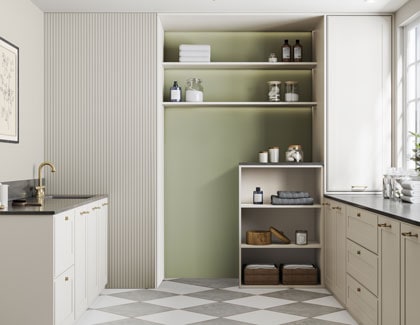
Prepare the designated space for your Bespoke AI Laundry Combo unit:
- Measure the area to ensure the unit fits without blocking any doors or pathways.
- Opt for a hard, level surface to avoid unbalanced loads and potential movement.
- Keep the ambient temperature above freezing (32°F) to ensure smooth operation.
- Make sure there is enough room for proper ventilation, wiring, connecting water supply hoses, the drain hose, and the unit's door to open freely.
Included with your Laundry Combo unit: wrench, bolt caps, hose guide, cable tie, and anti-slip pads.
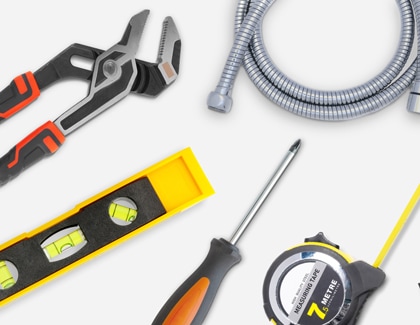
Additionally, you will need: water hoses, phillips screwdriver, level, adjustable pliers, and a measuring tape.
Begin by safely removing the shipping bolts from your Bespoke AI Laundry Combo unit:
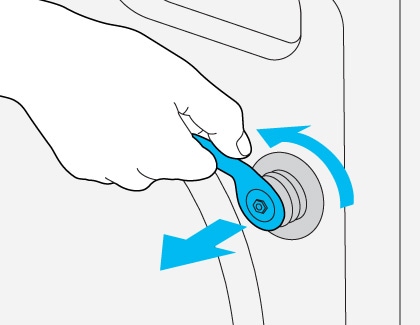
Note: Retain the shipping bolts and spacers for future use if you plan to relocate the unit.
Properly leveling your unit is crucial for optimal performance:
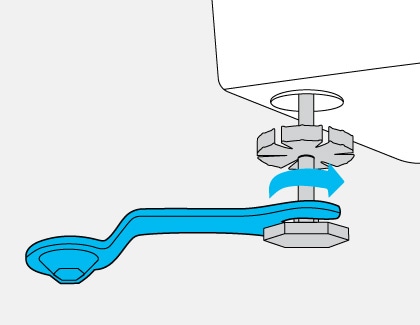
Note: Confirm that all feet are solidly in contact with the floor to prevent the unit from shifting during operation.
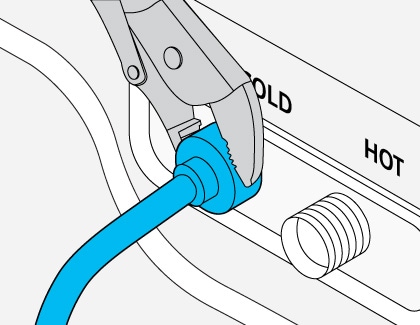
For a reliable and leak-free setup, it is essential to use new water supply hoses:
Properly installing the drain hose is crucial to prevent water leaks and ensure efficient operation. There are two installation methods to choose from, depending on your setup:
- Install in a standpipe or sink: Place the hose in a standpipe, laundry tub, or utility sink. Ensure the fixture is between 18 inches and 96 inches from the floor. Use the supplied hose guide to maintain a bend in the spout, securing it with zip ties to prevent kinks.
- Install over a wash basin edge: Position the drain hose at a height of 24 to 35 inches from the floor using the plastic hose guide. Attach the guide to the wall with a hook for stable drainage.
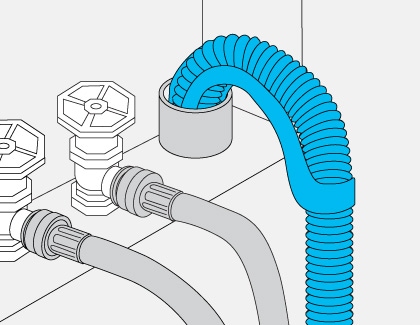
Additional installation considerations
- Depth of insertion: Insert the drain hose 6 to 8 inches into the standpipe, ensuring the connection is not airtight to prevent pressure issues.
- Consider drain height: Installing the hose above 96 inches may decrease draining efficiency and could cause odors as water remains in the system.
- Avoid low installation: If the hose is below 39 inches, it may trigger a siphoning effect, potentially causing the unit to display a 4C error code due to water draining back into cycles.
Ensure optimal performance by calibrating your new unit and running a test cycle:
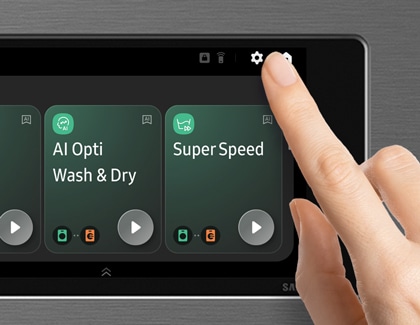
Note: Should you notice any unusual movement or noise, such as shaking or rocking, revisit the leveling steps provided above to adjust the unit's position.
Thank you for your feedback!
Please answer all questions.
The coding for Contact US > Call > View more function. And this text is only displayed on the editor page, please do not delet this component from Support Home. Thank you
_JPG$)