How to set the clock on your Samsung range
Not only can your Samsung range help you cook and bake your favorite foods, but it can also help keep track of the time. You can set the clock whenever you need to change or reset the current time, like after a power outage. An accurate clock will also ensure the oven’s automatic features work properly, such as delayed cooking or Sabbath mode. Our steps include Smart dial models and touch screen models as well.
Note: The information provided applies to ranges sold in Canada. Available settings may vary for ranges sold in other countries. Check your model’s user manual for specific instructions if needed.
While the guidance provided in the sections below is applicable to a broad array of range models, it's essential to consult the user manual specific to your model for the most comprehensive instructions. This ensures that you receive the most accurate information tailored to your particular appliance, especially if you encounter any uncertainties.
The following steps apply to most Samsung ranges, although the exact steps may vary depending on your model. Please consult your user manual for specific instructions if you are unsure.


Clock as a word
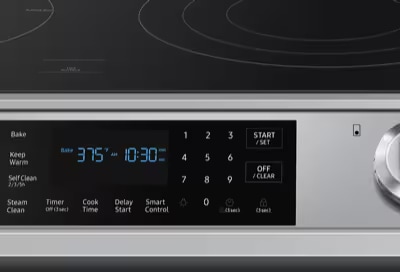
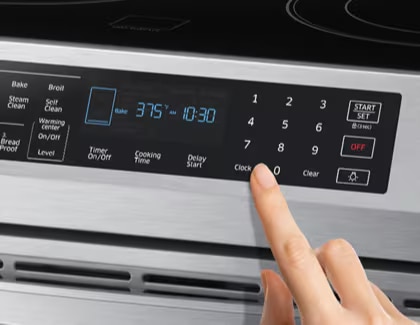
Some models feature the word “Clock” on the control panel.


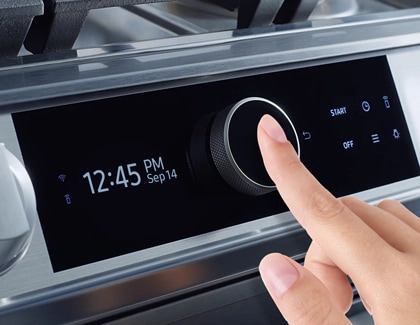
Clock as an icon
Some models display a Clock icon on the control panel.


Clock as a word
Another example of “Clock” as a word on the control panel.


Clock as an icon
Another example of a Clock Icon on the control panel.
Note: Sometimes the Clock button has a secondary function that opens the Settings menu if you hold it for 3 seconds. Do not press it for too long.
Note: Skip this step if the option is not available or if your range’s clock is set to use a 24-hour display.
Note: If you accidentally entered the wrong time, press Clear to start over.
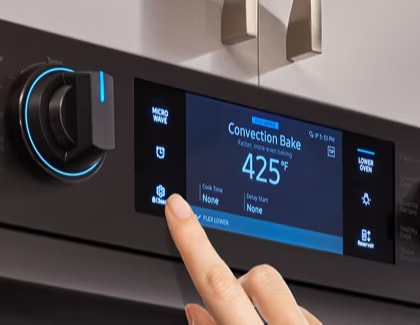
Smart dial models are a little different from other ranges. They include a Sleep mode, which will activate after 2 minutes of inactivity on the control panel. During Sleep mode, the control panel will only display the time. You will need to push or turn the dial knob to wake up the control panel. Keep this in mind when setting the clock.
Touch screen models allow you to set the time and date automatically or manually. Review the steps below depending on your preference:
Set the clock automatically
Set the clock manually
Note: Due to the screen's high energy use, the time display will turn off after 1 hour of inactivity.
_JPG$)
Thank you for your feedback!
Please answer all questions.
The coding for Contact US > Call > View more function. And this text is only displayed on the editor page, please do not delet this component from Support Home. Thank you