Gear IconX: How do I install the Gear IconX Manager software on PC and how do I use it
Last Update date : Nov 23. 2020
Gear IconX Manager
You can easily transfer music files from your PC to your Gear IconX. For this purpose, you must first install the Gear IconX Manager software on your PC.
Note: The available settings and options may differ from accessories sold in other countries.
Installing Gear IconX Manager
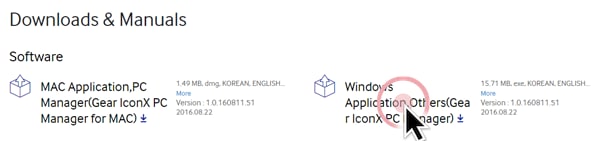
1. To ensure you are using the latest version of the software, we recommend to download Gear IconX Manager from the Samsung website.
Warning: The software is also saved in the internal memory of your earbuds and can be accessed by connecting your earbuds to your PC (which can be useful if you don't have access to Internet). Insert the earbuds into the charging case. Close the charging case. Connect the case to the USB port of your PC using the provided USB cable. Using Windows explorer, locate the IconX_R or IconX_L drive and double-click on one of the them to access its content. Double-click on TOOLS. Copy the Gear_IconX_*.*.******.**.exe file to your computer. Once the file is copied, DISCONNECT the Gear IconX from your PC. DO NOT run the file directly from the drive or if the Gear IconX is still connected to your PC. If you missed this warning and have an issue connecting the Gear IconX to the Gear IconX Manager software, uninstall the software and follow the above instructions.
2. Once the download is complete, open the installer on your downloads bar (usually located on the bottom left corner of your Internet browser's window) by double-clicking the Gear_IconX_*.*.******.**.exe installation file.
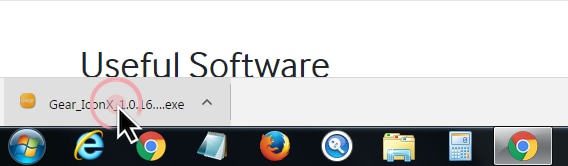
Note: The numbers displayed will depend on the software version.
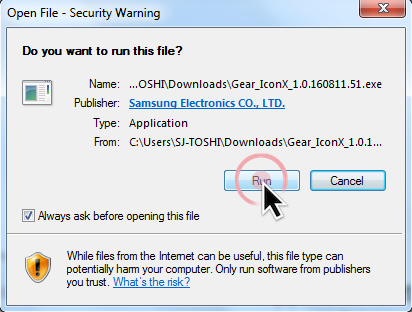
3. Click Run.
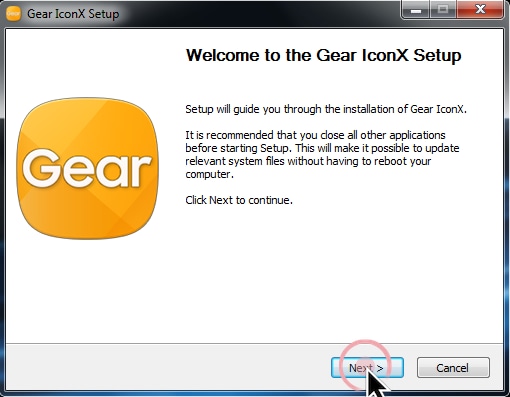
4. To complete the installation, follow the prompts. The steps might be slightly different depending on your settings and the software version. First, click Next.
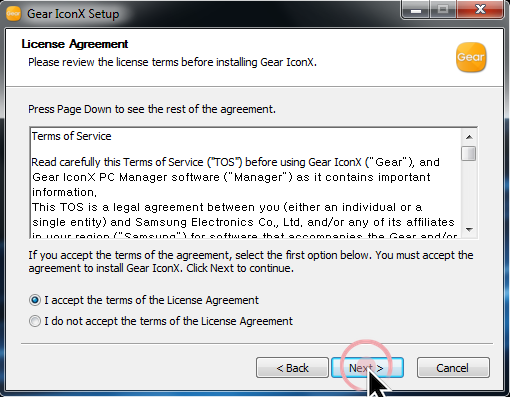
5. Read carefully the License Agreement. Then, click I accept the terms of the License Agreement and Next.
6. Click Install.

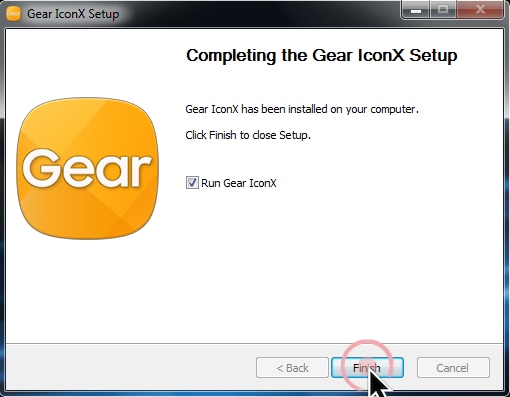
7. Click Finish to complete the installation process.
Transferring music files from your computer
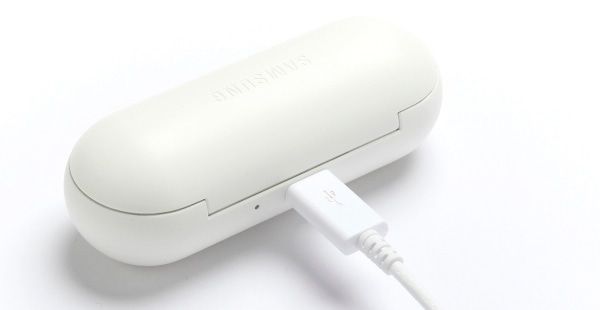
1. Check the direction of each earbud and insert them into the left and right slots of the charging case. Close the charging case. Connect the end of the USB cable into the multi-purpose jack of the charging case (located in the back).
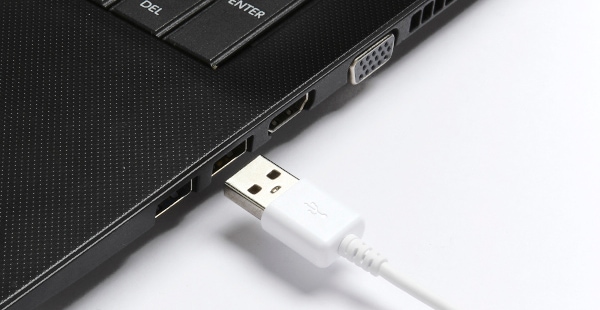
2. Connect the USB cable to the USB port of your Mac.
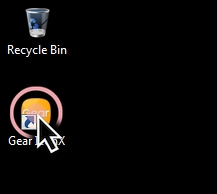
3. Launch the Gear IconX Manager software.

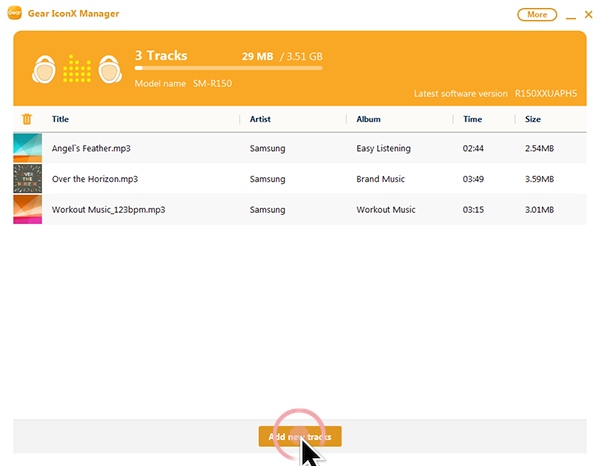
4. To transfer music files, click Add new tracks.
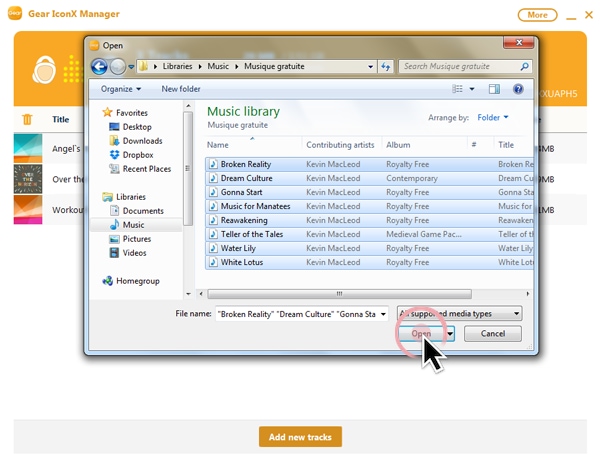
5. Navigate to the music files you want to add to the Gear IconX earbuds. Then, select the file(s) and click Open. After few minutes, the music files will be available on your earbuds.
Delete music files saved on your Gear IconX earbuds
1. Insert the earbuds into the charging case. Close the charging case. Connect the end of the USB cable into the multi-purpose jack of the charging case. Connect the USB cable to the USB port of your Mac.
2. Launch the Gear IconX Manager software.
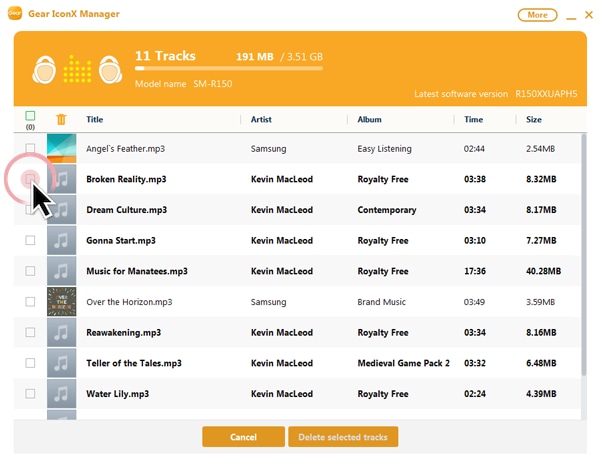
3. Click the Delete icon.
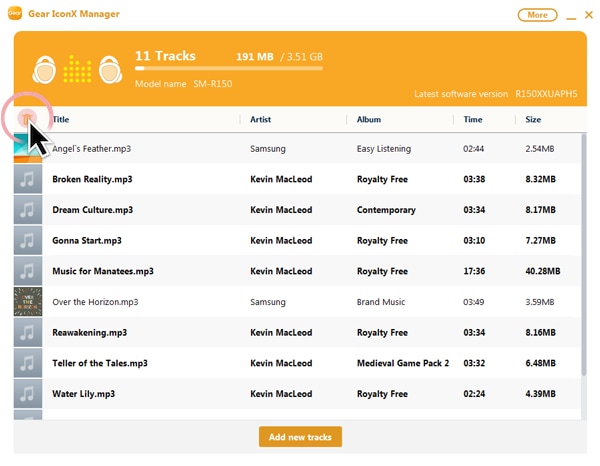
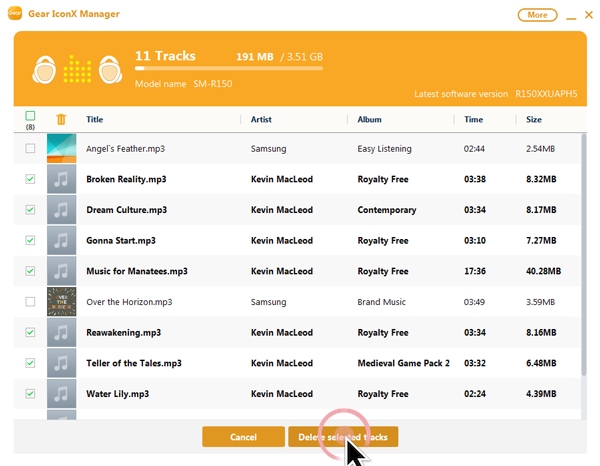
4. Select the music files you want to delete.
5. Click Delete selected tracks.
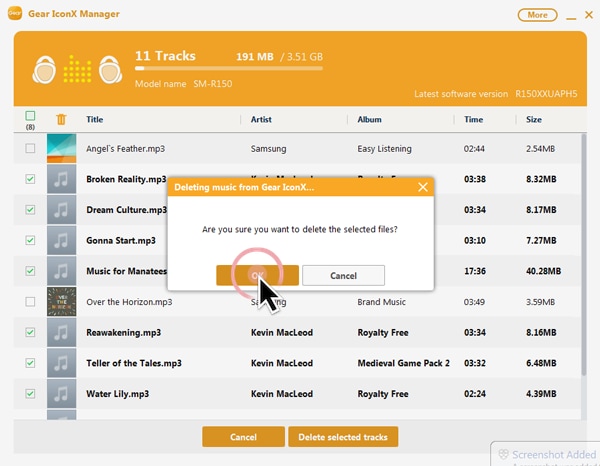
6. Click OK to confirm your decision and delete the files.
Thank you for your feedback!
Please answer all questions.