How Do I back up data using my Samsung account?
Backing up data to your Samsung Account
With your Samsung account, you can back up and restore your data in the
same device.
You can also synchronise several Samsung devices if you are using the same Samsung account. This feature is very useful when you want to keep the same data for all Samsung devices.
Type of data backed up: Phone logs, Messages, Wallpaper, Priority Senders, Spam addresses and filter, Call rejection list. (Note: the types of data will depend on your device. You can see more information on how to see what data is backed up on your device as per the steps below).
If you are trying to back up data such as files, photos or videos, you can see instructions on how to back up via Dropbox here.
Devices running Android Lollipop or higher
Click here for instructions for devices running Android KitKat or lower
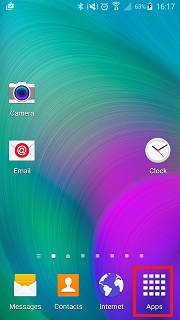
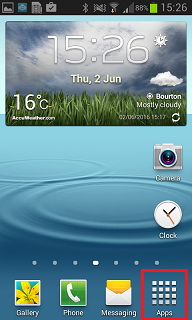
1. Tap Apps
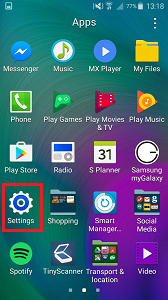
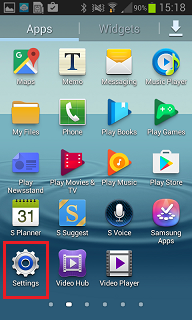
2. Tap Settings
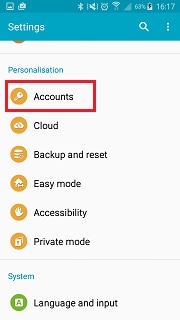
3. Scroll down to Personalisation and tap Accounts
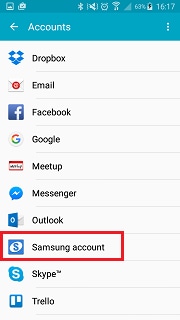
4. Tap Samsung Account. If you do not have a Samsung account you will need to set one up on your device. Click here for instructions on adding a Samsung account.
5. Tap Backup (you may need to scroll down a little)
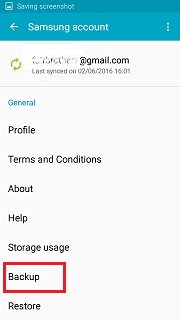
6. This will now provide you with options for backing up your account.
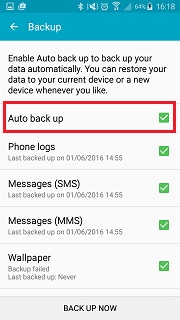
6.1 Tap Auto back up to enable your account to back up automatically.
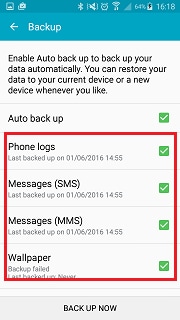
6.2 Under Auto back up, you will have all the options of the different data that can be backed up using your Samsung account. This will vary according to device, with newer devices showing more options.
If you are looking to back up files, documents or photos, click here for steps showing you how to do this via Dropbox.
Restoring data from your Samsung account backup (Lollipop and higher)
1. Tap Apps
2. Tap Settings
3. Scroll down to the Personalisation section and tap Accounts
4. Tap Samsung Account. (You may need to scroll down a little)
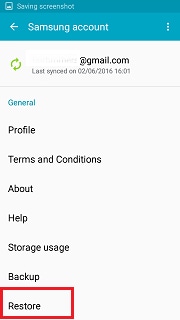
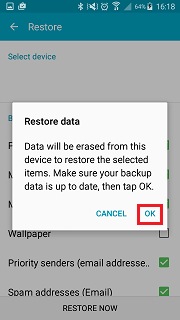
5. Tap Restore (You may need to scroll down a little)
6. Tap OK
Devices running Android KitKat or lower
1. Tap Apps
2. Tap Settings
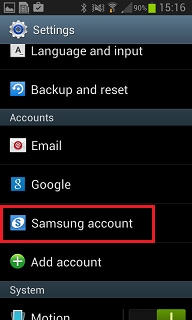
3. Scroll down to the Accounts section and tap Samsung account. If you do not see a Samsung account, you will need to click Add Account to add it. Click here for information on how to add a Samsung account.
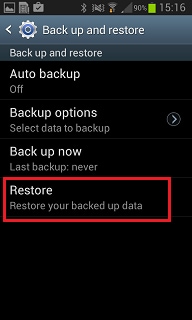
4. Tap Device backup (you may need to scroll down a little)

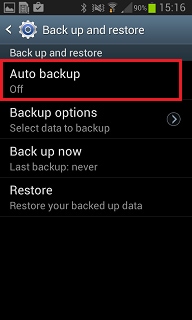
5. You will now have the option to turn on Auto backup, choose what data you wish to back up, back up now, or restore your data.
5.1 Turning on Auto backup
5.1.1 Tap Auto backup
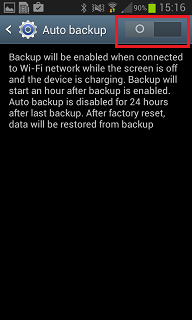
5.1.2. Toggle the switch to on (green)
5.1.3 Tap OK to confirm Auto backup
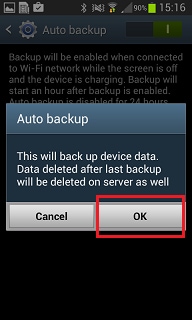
Your device will now automatically back up data.
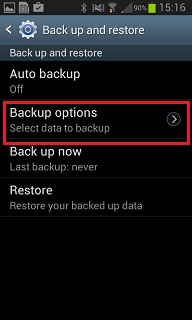
5.2 Setting the type of data to back up
In your Samsung account->Backup screen, tap Backup options
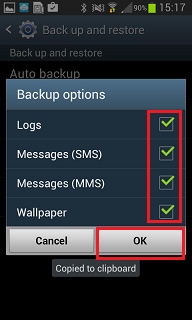
5.3 Select which data you would like to back up.
The type of data you can back up here will depend on which model device you have. If you are trying to back up data such as photos, videos or documents, you can view steps on backing up via Dropbox here.
Restoring data to your device (KitKat and lower)
1. Tap Apps
2. Tap Settings
3. Scroll down to the Accounts section and tap Samsung account. If you do not see a Samsung account, you will need to click Add Account to add it. Click here for information on how to add a Samsung account.
4. Tap Device backup (you may need to scroll down a little)
5. Tap Restore (note this will restore only data that has already been backed up)
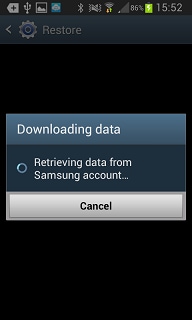
This might take some time, and depending on your device settings, may require your battery to be at a certain percentage.
6. Your data will now be restored.
Thank you for your feedback!
Please answer all questions.