How to charge and use the Samsung SolarCell Remote
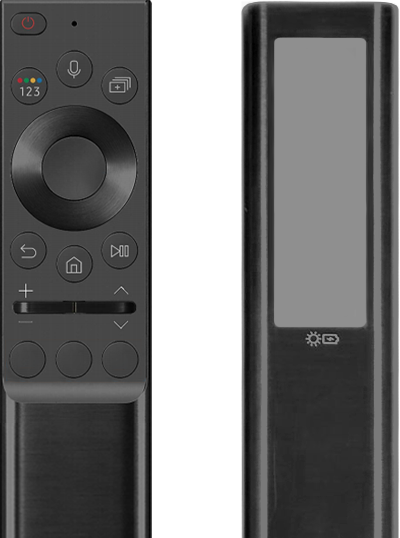
Introducing the convenient and eco-friendly Samsung SolarCell Remote. Say goodbye to spending time and money replacing the batteries in your remote control.
The Samsung SolarCell Remote can easily and economically be used – anytime, anywhere. Now, use your Smart TV even smarter!
What are the benefits of a solar remote
A solar cell on the back of the remote absorbs sunlight or the light in your home to charge the internal battery. A single, fully charged battery can last up to two years, making it an economical alternative to disposable batteries. It is estimated that over the next 7 years, 99 million alkaline batteries will be used. The solar remote is well-suited for today’s eco-friendly era, and can work to reduce a part of that staggering number.
If the battery is low, your remote control may not function properly, or may respond slowly. Use a USB port for faster charging. When the remote is not in use, remember to expose it to light. This will extend the remote’s operating time.
Option 1. Fast charging using a USB-C connector
Prior to the first use of the remote control, connect it to a USB port for fast charging.
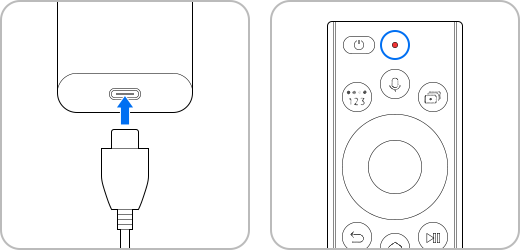
Step 1. Connect the USB-C cable to the port on the bottom of the remote control.
Step 2. The LED on the front of the remote control will turn on once charging starts and will turn off when charging is complete.
Note:
- For faster charging and maximum usage time, refrain from using the remote while it is charging.
- USB-C cable and charger are not included.
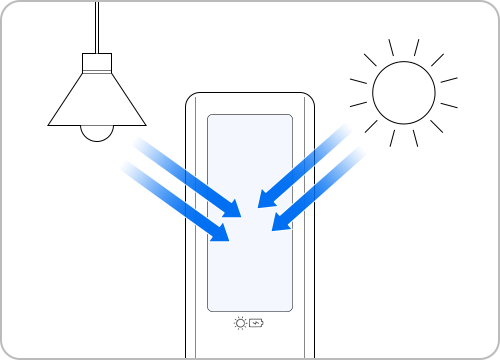
Option 2. Eco-friendly feature using solar cells
Place the remote control face-down in direct light to expose the solar cell on the back.
Note: Please ensure that the remote control is not misplaced when charging via the solar cells.
If the battery is low, the remote control may not function properly, or may respond slowly. Use the USB port for faster charging. Refer to the following guide for easy charging.
Step 1. Turn on the TV and press any button on the remote control to automatically pair with the TV.
If it does not automatically connect or disconnects during use, try the method below.
Step 2. With the TV turned on, press and hold both the Return button and the Play/Pause button for more than 3 seconds.
Step 3. The TV and remote control pairing will begin. Follow the on-screen instructions to continue pairing.
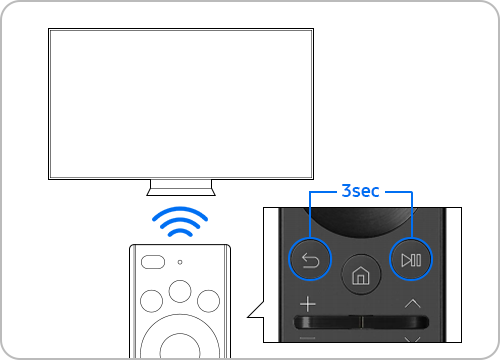
Note: It is recommended to use the Samsung Smart TV and the SolarCell remote within 6m of each other.
A full charge can last up to two years, depending on usage. Follow the guide below to check the battery level status.
Step 1. Turning on the Smart TV should automatically pair the TV and the remote control.
If pairing is not successful, refer to “How to reset the pairing settings” section.
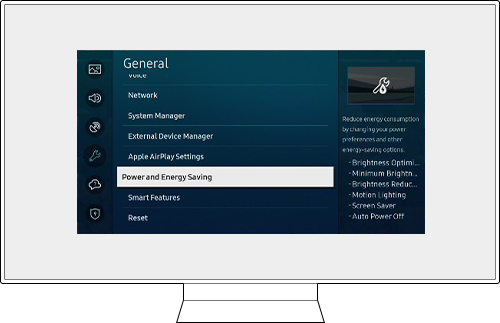
Step 2. Press the Home button on the remote control and navigate to the Settings menu.
Step 3. Check the battery level of the remote control in General -> Power and Energy Saving -> Available Remote Battery.
Note: Remote controls may differ depending on the model. This function is only supported by eco-friendly Smart remote control models
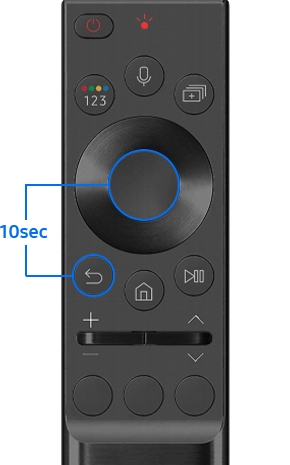
When the remote is in a low battery state, it will not work even when the Power button is pressed, and the LED indicator of the remote will flash for about 3 seconds.
This ‘Lock’ phenomenon is to protect the battery performance, and you have to reset it and pair it with the TV again.
- To reset, press the Return button and the Enter button together for about 10 seconds.
- Please refer to the above explanation regarding how to pair the remote with your TV.
Note:
- If you are having trouble with your Samsung Smart TV, you should always check to see if there are any software updates available as these may contain a fix for your problem.
- Device screenshots and menus may vary depending on the device model and software version.
Thank you for your feedback!
Please answer all questions.