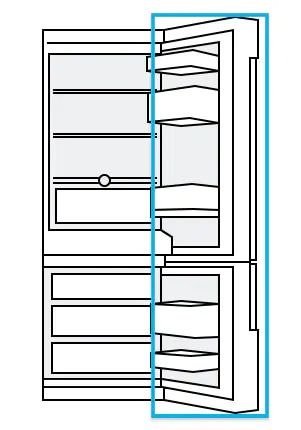
How can I reverse the door of my refrigerator?
It is important to place your refrigerator in the proper location for product efficiency. In addition, sometimes you may need to detach or reverse the door of your refrigerator for moving, repairing, or other reason. Check out the instructions below. If you require more information, please find a user manual or contact the Samsung service centre.
Before the process
- To prevent floor damage, it’s recommended that you protect the floor before any work is carried out. (rug or towel, box, etc.)
- Unplug the refrigerator from the power supply and empty the contents from the refrigerator before starting the door reverse procedure.
- Disconnect the water supply line before the procedure.
- Where possible and by law, an electrical safety test should be conducted prior to powering it on.
Note: The waterline location may differ depending on the type of model that you have.
Cautions
- Be careful not to injure yourself during the procedure.
- For safety reasons, it is highly recommended for two or more people to handle any work required during the installation procedure.
- Samsung recommends that the reversing of the door opening is only completed by Samsung approved Service providers.
- Any damage caused while attempting to reverse the door opening is not covered under the appliance manufacturer’s warranty.
Required Tools (Not provided)
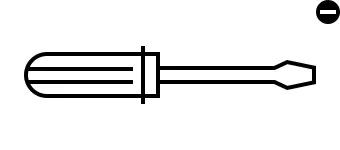
- Philips head screwdriver

- Flat-head screwdriver
- 8 mm Socket spanner (for bolts)
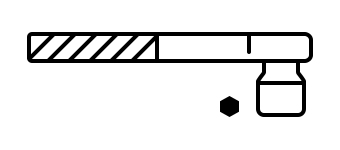
- 5 mm Allen key (for hinge shaft)

- 11 mm Spanner

- Electric drill
Note: These tools are not provided with the refrigerator.
- Cover Wire Door

- Cap space Door
- Hinge Cover
- Top Hinge
- Middle Hinge

- Hinge Low
- Cap / Cap control
Reverse the doors
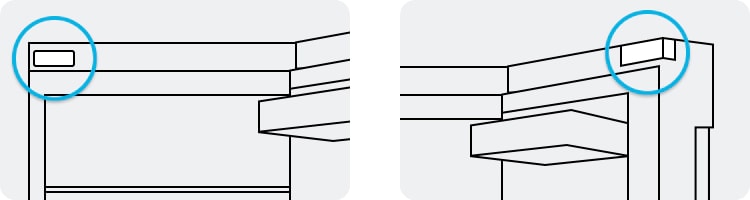
Step 1. Remove the hinge cover using a small screwdriver to unclip the cover.

Step 2. Remove the wire cover and cap door. Then, disconnect the housing and disconnect the wire connector inside.

Step 3. Remove the 2 screws on the upper hinge.
Step 4. Then, remove the fridge door from the middle hinge by carefully lifting the door straight up.
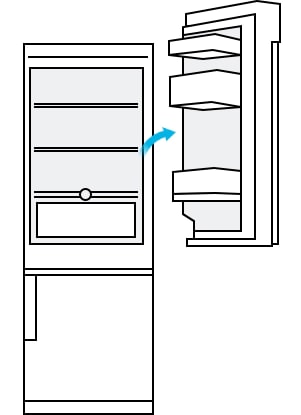
Note: Be careful not to drop the door when you disassemble it.
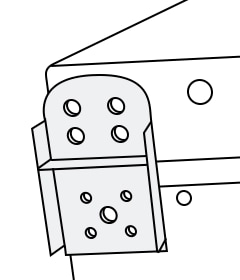
Step 5. Disassemble the middle hinge by removing the screws using a Phillips head screwdriver.
Note: The freezer door may fall forward, so please support the door.
Step 6. Remove the freezer door from the bottom hinge by carefully lifting the door straight up.
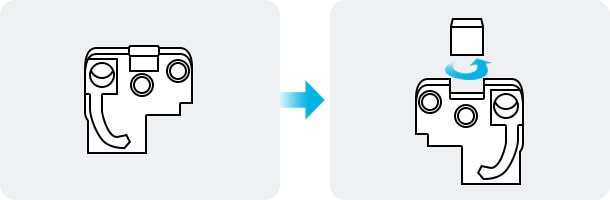
Step 7. Gently lay the door down in a safe working place and taking care not to damage the door. And switch the position of the cap of the upper side of the door.
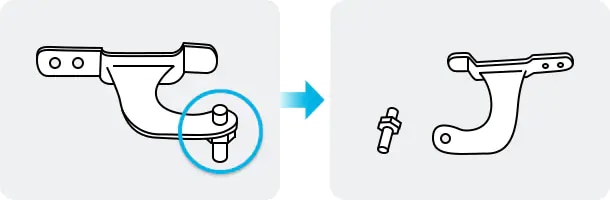
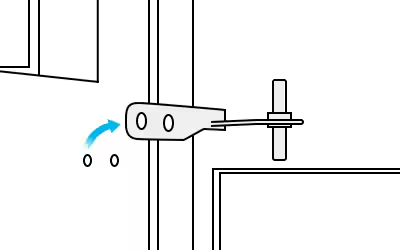
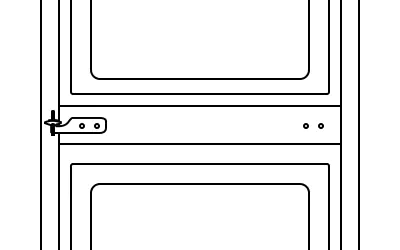
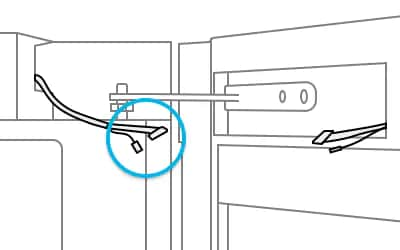
Step 8. Check the lever auto closer and screws at the bottom of the doors that need to be relocated.
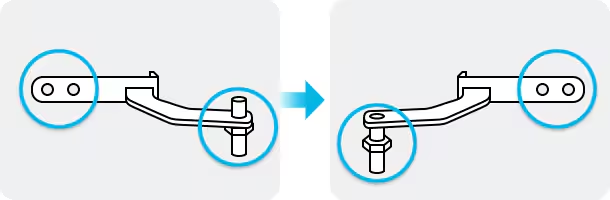
Step 9. Carefully change the feet and switch the position of the screw cap.
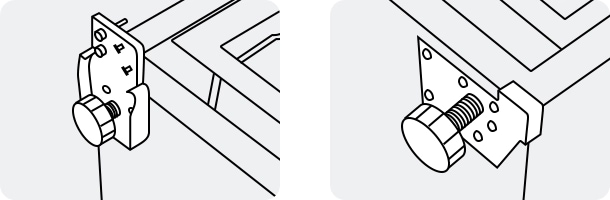
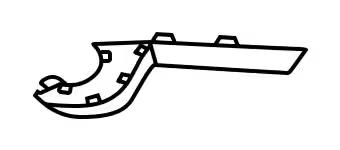
Step 10. Switch the position of the bottom hinge and leg. (From right to left)
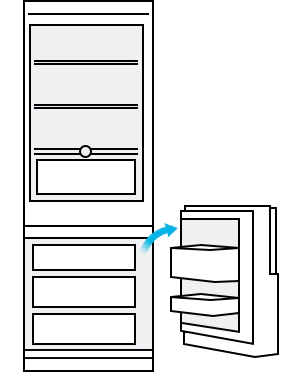
Step 11. Assemble the hinge low after putting the freezer door in the middle hinge.
Step 12. Assemble the middle hinge using the Phillips head screwdriver.
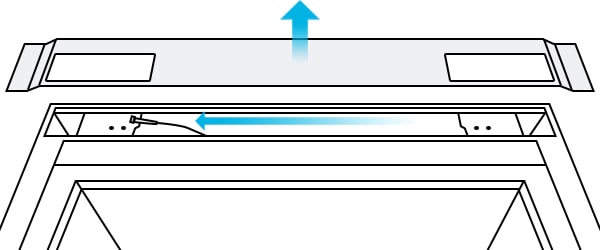
Step 13. Switch the door wire directly to the opposite side. Then, insert the door wire cover.
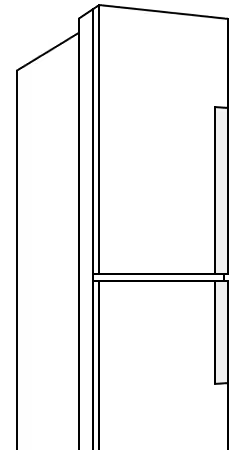
Step 14. Lift the refrigerator to a standing position.
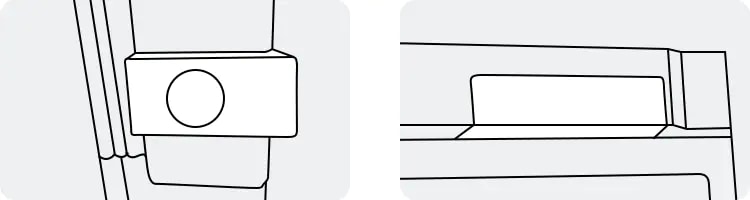
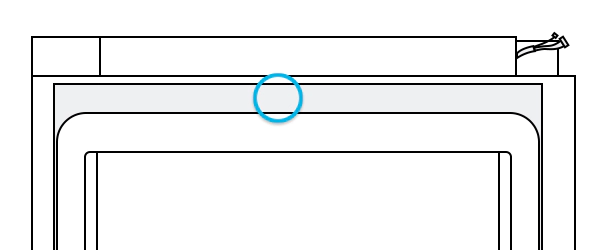
Step 15. Assemble the cap space door. Then, change the position of the fridge and freezer door gasket.

Step 16. Detach the fridge and freezer gaskets and attach them after rotating 180°.
Note: Make sure the door gaskets are properly arranged. If not, there can be a noise or dew that can form that will affect the performance of the unit.
Step 17. Insert the Top hinge to make the hole a little bigger and then put out the Top hinge to assemble the fridge door.
Step 18. Reconnect the wire connector and insert the wire. Insert the cover wire door on the top of the fridge door and then push it to assemble it completely.
Step 19. Assemble the cap control.
Step 20. Close the doors. Ensure the doors are working properly.
Note: Do not plug in the refrigerator immediately after the door reverse procedure is finished; wait for at least one hour.
Thank you for your feedback!
Please answer all questions.