How do I use the Do not Disturb feature?
There's nothing worse than being woken up before your morning alarm only to look at your phone and see an alert from an app you hardly use. The do not disturb feature gives you control over when and how you want to be updated with incoming alerts and notifications making sure that you can get some screen off time when you need it the most.
With do not disturb you have the option of customising which notifications, alerts, or calls you are happy to have disturb you and which you aren't. You can also programme it to turn on and off automatically at scheduled intervals.
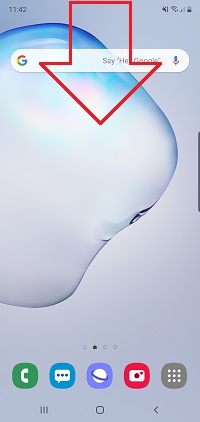
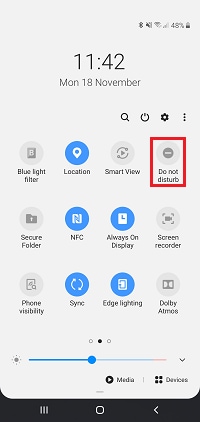
Do not disturb can be quickly turned on and off through your quick settings.

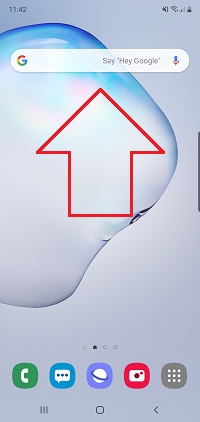
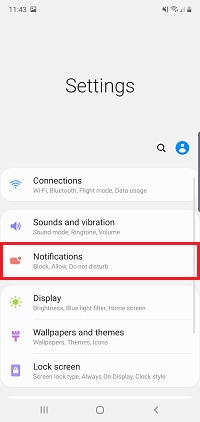
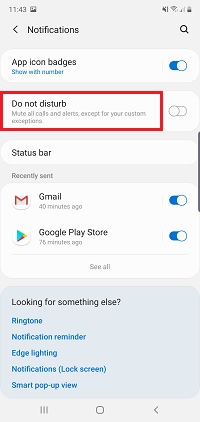
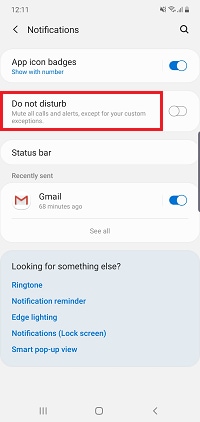
You can also turn Do not disturb on and off through your settings.

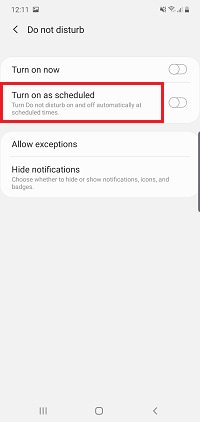
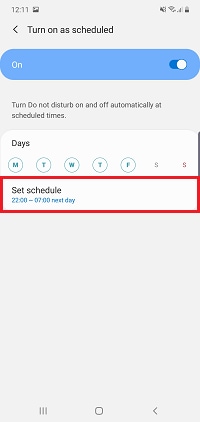
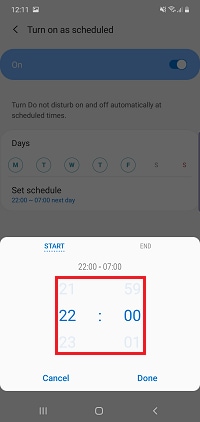
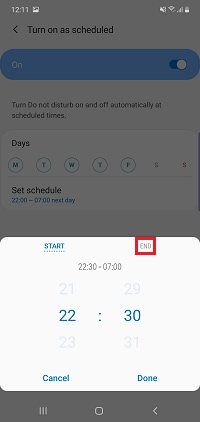
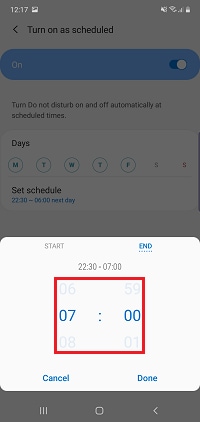
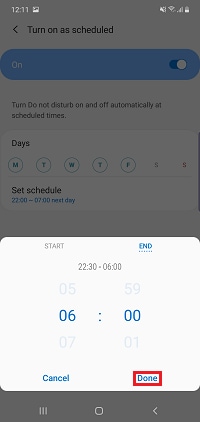
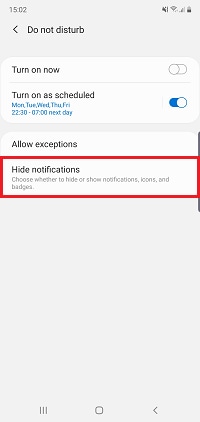
If you frequently use Do not disturb at the same time of day, you can schedule the feature to turn itself on and off automatically. For example you could set Do not disturb to come on before you go to bed and turn off when you wake up.


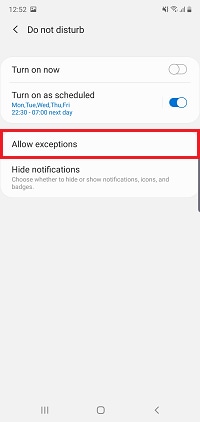
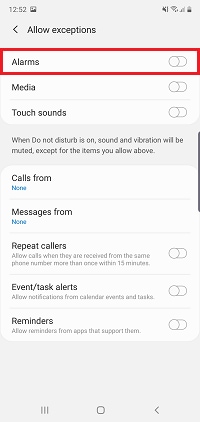
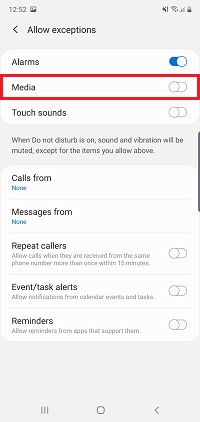
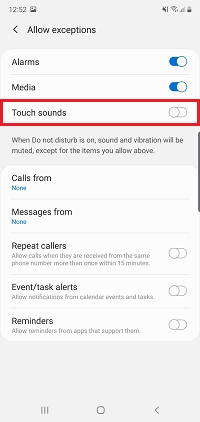
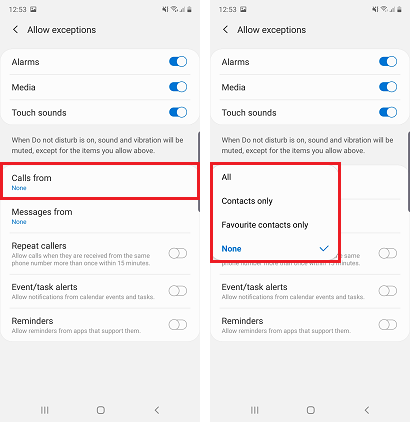
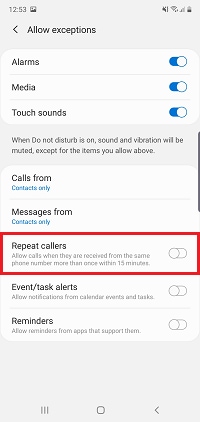
While it's great to be able to turn of your notifications and get a break from the screen, there may be some notifications that you wouldn't want to miss. If you'd like, you can set some exceptions for the Do not disturb feature so that you never miss anything important.


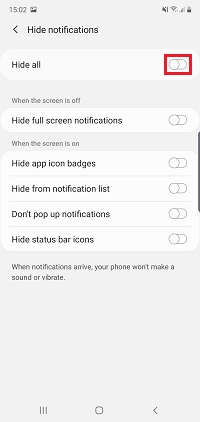
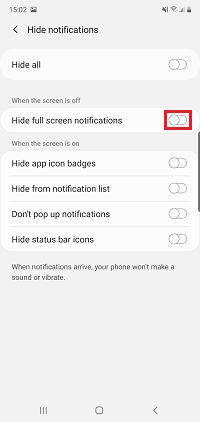
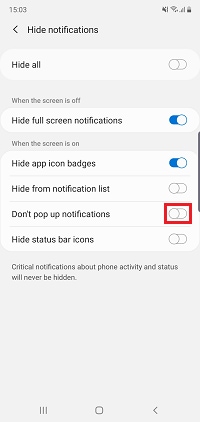
While Do not disturb will prevent sound and vibration alerts, you will still recieve visual notifications on your phone. If you would like, you can customise the type of notifications that appear or disable them all.
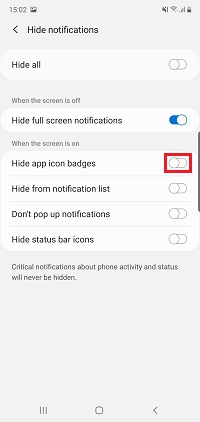
Please note: critical notifications about phone activity and status will still be shown
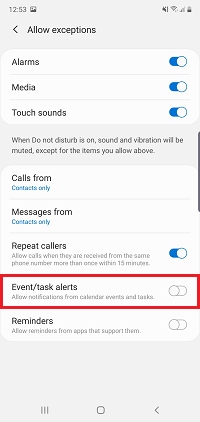
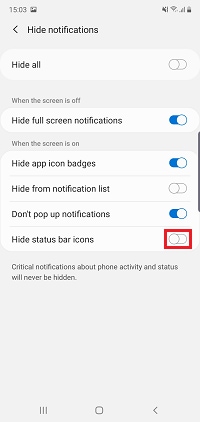
You can also choose which notifications will appear based on their type.
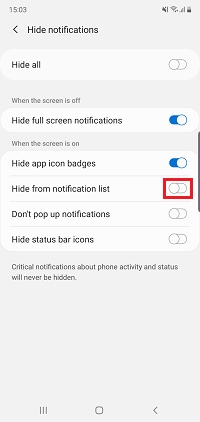
Please note: this option will turn on automatically and become greyed out if the Hide from notification list option has been activated
Please note: this option will turn on automatically and become greyed out if the Hide from notification list option has been activated
If you're experiencing unusual behaviour on Samsung mobiles, tablets or wearables, you can send us an error report or ask us a question in the Samsung Members app.
This allows us to take a closer look at what is happening. The data is anonymised and only held for the duration of the investigation. Find out more about sending an error report through the Samsung Members app.
Thank you for your feedback!
Please answer all questions.