How To Use The Auto Adjust Function Of My S**C230 Series Monitor
Last Update date : Nov 23. 2020
Auto Adjustment
The Auto Adjustment feature automatically adjusts the fine, coarse and position adjustments on your monitor to the incoming video signal when you're using an analog 15pin D-Sub (VGA or RGB) connection.
IMPORTANT: Auto Adjust does not work when you're using the digital DVI connection or the HDMI connection. If you try to use Auto Adjust when you've set your monitor to the Digital/HDMI mode, the monitor displays the Auto Adjust Not Available message. To adjust the image with a DVI or HDMI connection, you must use the Windows Display Properties dialog or the software provided with your video card.
Using the Auto Adjust Function
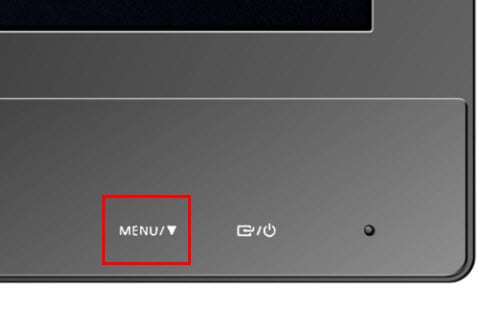
1. Touch any button on the front panel to display the Key guide. Tap Menu.
2. Using the Down arrow, highlight Auto Adjustment.

3. Press the Enter key to select Auto Adjustment.

4. The Auto Adjustment progress bar displays.

The Auto Adjustment is complete. To make more adjustments or changes to the screen picture, use the OSD Picture menu.
Thank you for your feedback!
Please answer all questions.