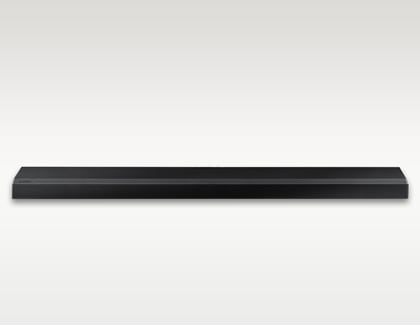
Connect wireless speakers to your Samsung soundbar for surround sound

How do you take your soundbar to the next level? By adding more speakers! The more speakers you have, the more you can surround yourself with sound. To get true surround sound quality, you will need the right kind of soundbar and some rear speakers to go with it. And do not forget the subwoofer for those rich, low tones to fully develop the sound. Finally, you do not need to leave home to get an amazing surround sound experience.
Note: The provided information refers to Samsung Soundbar sold in Canada. The available settings may differ for devices sold in other countries.
Note: Only the wireless receiver module is wireless, requiring no wires in order to connect to your soundbar. However, the two rear speakers are connected to the wireless receiver module by wires.
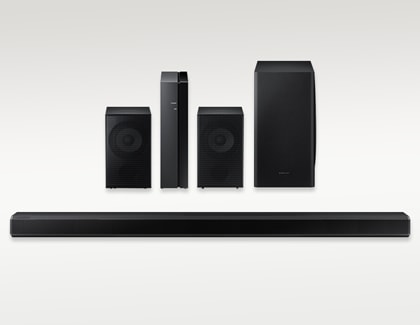
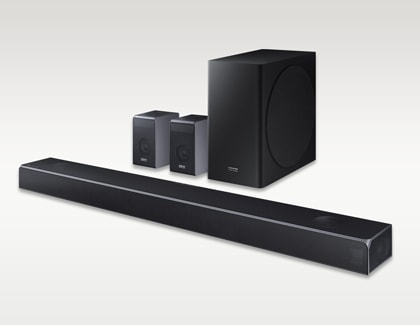
Adding a Samsung Wireless Rear Speaker Kit to your soundbar helps to surround you in sound. If your soundbar supports 5.1 surround sound or better, like Dolby Digital, DTS, or even the superior Dolby Atmos, the Rear Speaker Kit will help you achieve it.
This optional add-on comes with a wireless module (see picture below) and two speakers that you can place behind or on the sides of your seating arrangement. That way, you can become completely engulfed in whatever's happening on your TV.

One Rear Speaker Kit is available for purchase on our website: SWA-9000S. If your model does not come with a kit already, you will need to get the kit that is compatible with your soundbar.
Note: The easiest way to determine what kit is compatible with your soundbar is to check the user manual for your model.
There is a difference between how many speakers you have and how many channels you have, although both use the same type of numbering. Even if your soundbar comes with a lot of speakers, or you add additional speakers using the Rear Speaker Kit, you will still want a soundbar with good sound processing in order to have a lot of channels and truly get an immersive experience from all those speakers. You can see the specifications for your model on our support siteor in your user manual.
The audio source also needs to have the channels encoded into it. Even if your soundbar setup is capable of better, if the sound that is being played is only 2.0, it will still only output as 2.0, although many soundbars offer a way to convert that 2.0 sound into a "virtual" surround experience. And finally, you will want to make sure you have the correct audio format on your TV to ensure that the multi-channel audio signal reaches your soundbar.
2.0 Ch
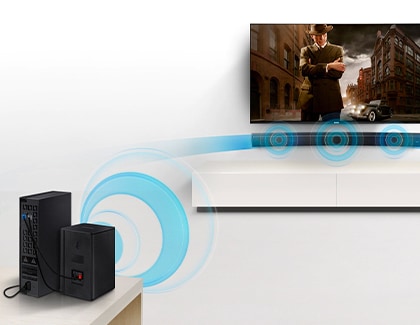
Models with 2.0 processing only have a left and right channel. They will still play sound out of the additional speakers from the Rear Speaker Kit if you connect it, but they will not have a separate sound channel from the soundbar, so any sound out of the rear speakers will also play on the soundbar. In addition, the subwoofer (if one is connected) will not have a separate channel, but will play any low tones from the left and right channels.
When connecting a Rear Speaker Kit to a soundbar with 2.0 processing (or when listening to audio that only has 2.0 channels), it may be more immersive to set the speakers to either side of you instead of behind you.
5.1 Ch
Models with 5.1 processing will have a separate channel for left, right, center, right rear, left rear (the 5 channels) and the subwoofer (the .1 channel). If the soundbar is missing a speaker for the channel (like the center channel), then it will simulate the channel using other speakers, like the left and right speakers. But do not worry, your soundbar will still be able to decode and process 5.1 content (like Netflix) correctly.
Note: Some models offer even more channels, and can process 7.1 audio. Typically the two extra speakers are set on either side in addition to the two in the back.
Dolby Atmos/DTS:X
Finally, Dolby Atmos is a superior process which uses at least 5.1 channels, but instead of having distinct channels for each speaker, where sound only either comes out of the speaker or it does not, Dolby Atmos blends the channels together in a way that positions the audio in a fully 3D space, so it feels like sound is actually traveling through the room! Models with Dolby Atmos also support DTS:X, which is a similar feature with a different codec.
These models are often labeled as 5.1.2 or 7.1.2, with the third number at the end (.2 in this case) signifying how many upward-facing speakers it has, which help with the sound blending process.
The connection process is the same whether you are connecting extra speakers that came with your soundbar (which some models have), the subwoofer (which may have come with the model or purchased separately), or the Wireless Rear Speaker Kit (which has a little bit of extra setup, and again may have come with the model or purchased separately).
Connecting the speakers or subwoofer that came with your soundbar is super easy as they are already coded to work together from the factory. Simply plug them into an electrical outlet. You will know that they are connected once the blue indicator glows on the connected device.
Rear Speaker Kits will need some assembly, though. And you can always connect the speakers manually if the need ever arises, like after resetting the soundbar. If the LINK LED indicator is blinking, follow the "ID SET" steps (below) to connect it again.
Note: Some soundbars may need a wireless dongle attached to them to communicate with the wireless receiver and the speakers. If your soundbar requires this, please see your user manual for instructions.
Assembling the Rear Speaker Kit
Note: Make sure the clamp is directly on the stripped wire portion and not on the insulation, for a proper connection.
ID SET
Follow these steps if the LINK LED indicator on the speaker, subwoofer, or wireless receiver for the rear speaker kit is blinking:
Note: Which button you need to press varies by model. Please read your soundbar's user manual for specific instructions.
Adjusting the volume of the rear speakers
This is done in much the same way that you adjust the treble or bass on the soundbar and is done through the soundbar remote. Press the Sound Control button to toggle past treble, bass, and audio sync, and the next two settings will be for the rear speakers (and only appear when the rear speakers are connected).
The first setting will allow you to turn the rear speakers on or off (use the directional arrows to adjust it), and if you press Sound Control one more time, you will be able to adjust the volume of the speakers, between +6 and -6 (using the directional arrows).
Note: If these steps do not match your model of soundbar, see the user manual of the soundbar for more details.
If you are having trouble connecting the sound system, check out these tips:
- Remember, only the wireless receiver module is wireless. The two speakers must be connected to the module by the provided cable wires.
- When connecting the speaker cables to the wireless module, make sure you are correctly matching up the cables' colors.
- Make sure the speaker's metal wire makes contact with the metal tab. Do not close the clamp on the insulation of the wire.
- If you still have no or low audio, please contact us for help with connection.

Thank you for your feedback!
Please answer all questions.
RC01_Static Content : Hide call number function