If you wear prescription glasses or hard contact lenses, you can enhance your experience with prescription inserts available through Samsung partner Eyebuydirect.
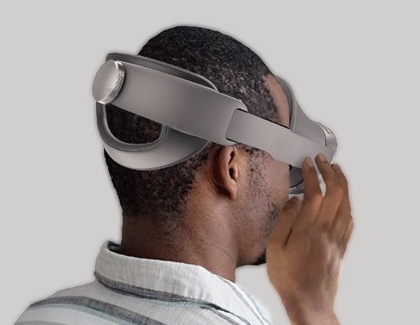
To install optical lenses in your Galaxy XR headset:
- Make sure the headset is powered off and the power cable is disconnected.
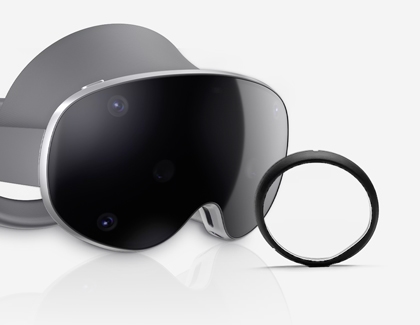
- Reattach the protective cover to the visor, making sure it's clean and secure.
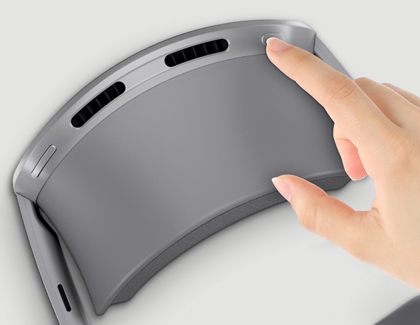
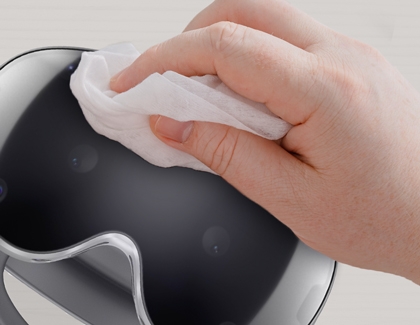
- Remove the light shields below the lenses and clean the lens area using the provided cloth.
- Match the engraved markers (L/R) on the optical lenses with the corresponding markers on the headset. Align and gently insert them into the circular slots.
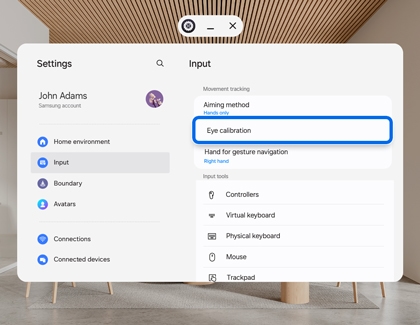
Once you've inserted the lenses and put on the headset, a pop-up will appear guiding you through the setup process for the optical inserts. Scan the QR code provided with the inserts to complete the setup. If you prefer, you can manually register the lenses after the initial setup by navigating to Settings > Inputs > Eye calibration > Optical inserts.