Disassembly and reassembly important information

Disassembly and reassembly important information
Tools for Disassembly and Assembly
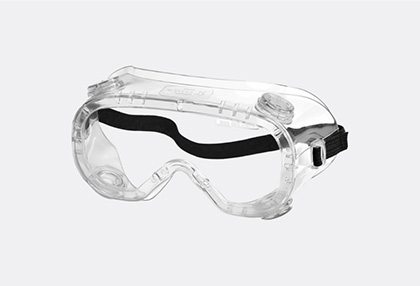
Safety Goggles
Prevents accidents during repair (protective equipment)
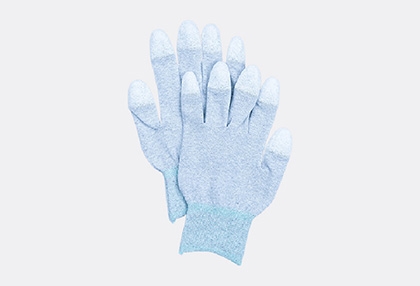
Safety Gloves (ESD safe, cut-resistant)
Prevents accidents during repair (protective equipment)
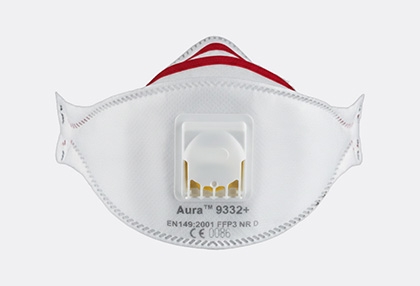
Safety Mask
Prevents accidents during repair (protective equipment)
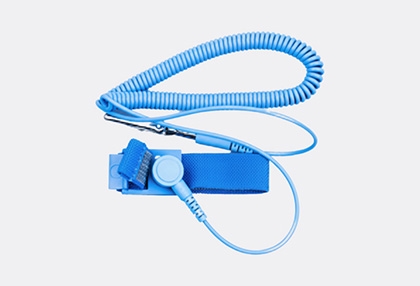
Anti-static Wrist Strap
Prevents electrostatic damage (recommended)
ESD Safe Mat
Prevents electrostatic damage (recommended)

Ejection Pin
Pin for ejecting the SIM card tray

Cross-head Screwdriver
Tool for screwing in cross-head screws

Opening Pick
Tool for disassembling the back cover, screen, and other parts

Opening Tool
Tool for disassembling the connector and other parts

Suction Cup
Tool for disassembling the back cover, screen, and other parts

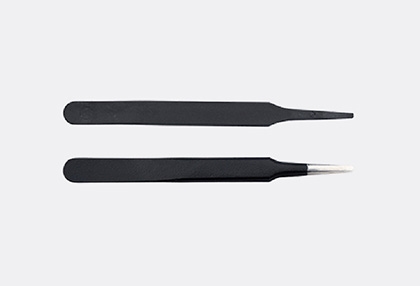
- Because it is possible to damage parts or components when using sharp tweezers, use tweezers made with plastic or rubber material.
- When removing a vibrator motor, it is required to use the round tip metal tweezers.
ESD Safe Tweezers and Round Tip Metal Tweezers
Tool for handling connectors, cables, and other parts
Heating Bag
Tool for disassembling the back cover, screen, and other parts

Acrylic Protective Cover for Broken Glass
Prevents injuries and scattering caused by broken glass

Fasteners (Adhesives and Materials) for Assembly
Back Cover Adhesive Tape
Double sided adhesive tape for attaching the back cover to metal frame
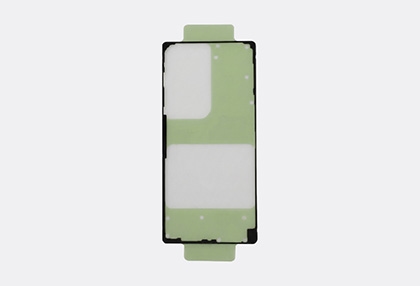
Front Camera Main Adhesive Tape
Double sided adhesive tape for attaching the front camera to screen module
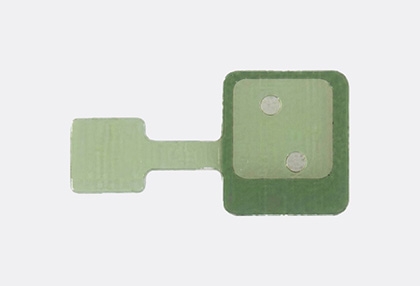
Front Camera Side Adhesive Tape (x2)
Double sided adhesive tape for attaching the left and right sides of the front camera to screen module
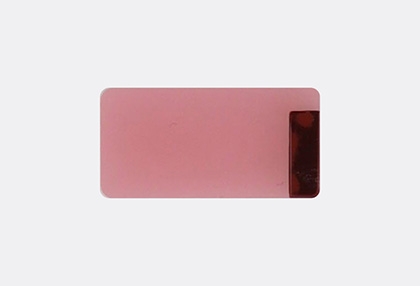
Front Camera Top Adhesive Tape
Double sided adhesive tape for attaching the top of the front camera to screen module
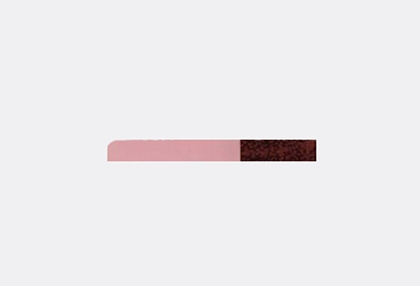
Ultra Wide Camera Adhesive Tape
Double sided adhesive tape for attaching the ultra wide camera to camera frame
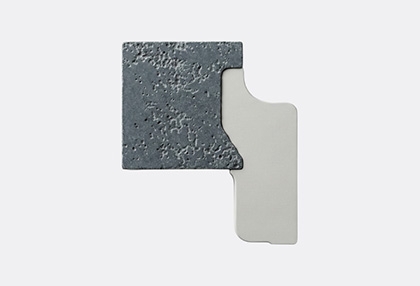
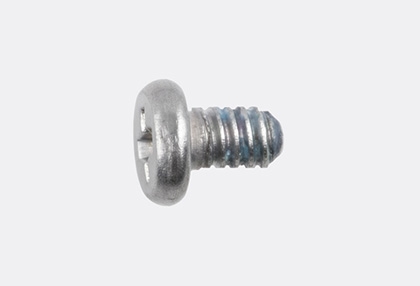
Screw 3428 (x19)
- Screws for the rear (15 ea)
- Screw for the camera (1 ea)
- Screws for the charging port (3 ea)
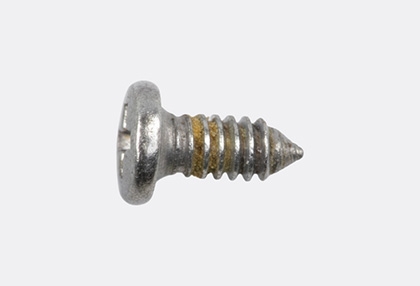
Screw 3489
Screw for the camera (Black)
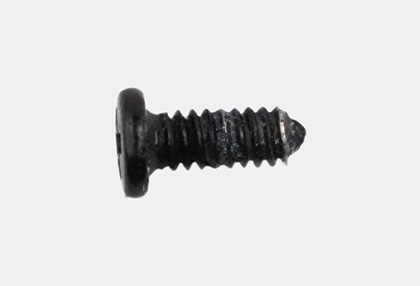
Screw 3487
Screw for the 5G mmWave antenna
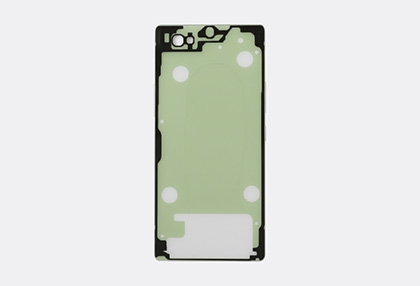
Screen Side Adhesive Tape
Double sided adhesive tape for attaching the sides of the screen to metal frame
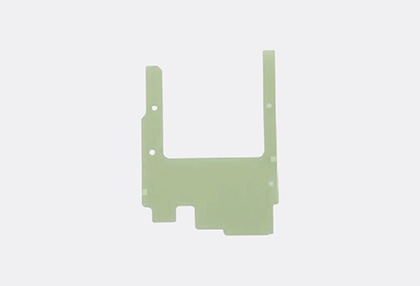
Screen Middle Adhesive Tape
Double sided adhesive tape for attaching the middle of the screen to metal frame
Disassembly and Reassembly for replacement reminders
- The product’s composition may vary depending on the country, region, or carrier.
- Repairable parts may vary depending on the country or region.
Before disassembling:
- Unplug and turn off the device before disassembling.
- Wear an anti-static wrist strap and connect it to the grounded ESD safe mat.
Before reassembling:
- Remove the adhesive tape residues perfectly.
- Prepare all existing screws of this device and adhesive tapes.
- Wear an anti-static wrist strap and connect it to the grounded ESD safe mat.
- Leaving screws inside the device may damage internal components, such as the battery. When assembling, be extra careful not to leave any unassembled screws inside the device.
For all cases of broken glass:
- Wear safety goggles and cut-resistant gloves.
- Remove the release film of the acrylic protective cover.
- To prevent injuries and scattering caused by broken glass, attach an acrylic protective cover.
Caution: If your device’s glass breaks, be careful not to injure your hands or other body parts on debris. - Press the acrylic protective cover with strong force so that it is strongly attached to the glass.


Note: Wait more than 5 minutes until the bond between the acrylic protective cover and the glass is strengthened.