Set up and use Samsung Money by SoFi in Samsung Pay
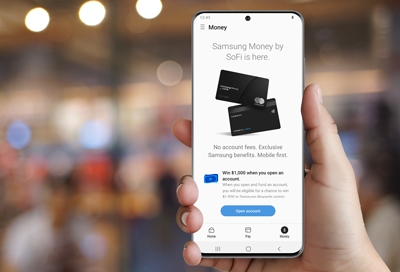
If Samsung Pay's digital wallet services weren't already awesome enough, the app now has a new addition. It's called Samsung Money by SoFi, and it lets you have your very own debit account in Samsung Pay. You'll even be sent a physical debit card. But first you need to set up an account and have it approved. Once it is, you can add money to your new Samsung Money by SoFi account, right from the Samsung Pay app.
Set up a Samsung Money by SoFi account
Setting up a Samsung Money by SoFi account is pretty similar to setting up any other debit or credit account. You'll need to provide some information and then wait to be approved. But it's nowhere near as scary as it sounds. Once you have been approved, you can transfer money from an existing bank account to your new Samsung Money by SoFi account.
Navigate to and open the Samsung Pay app. Tap the Money tab, and then tap Open account.
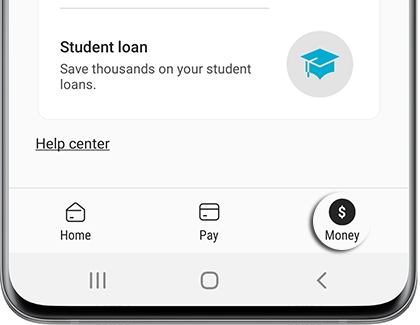
Read the information, tap Agree to all, and then tap Proceed. Enter the necessary information and fill out the forms until you've reached the end, and then tap Confirm and continue.
Next, verify your phone number. If you are approved, you can start adding money right away. However, it may take up to 24 hours for your new account to be approved.
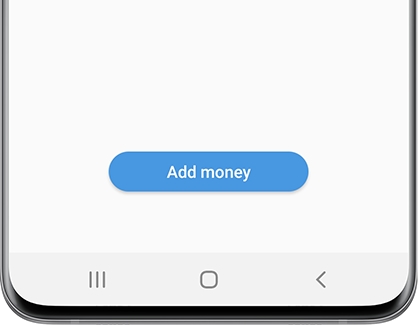
If you are approved right away, tap Add money, read the information, and then tap CONTINUE.
Select your bank from the list; you'll be redirected to your bank account's mobile app. Sign in the way you normally would and follow any on-screen instructions.

Once your account is linked, you can tap Add money or Later.
If you chose Add money, enter the amount of money you want to transfer, and then tap Next. Check the transfer details, select your bank account from the list, and then tap Confirm and transfer money. Finally, tap Done. It may take a while for the transferred money to appear in the Money tab.
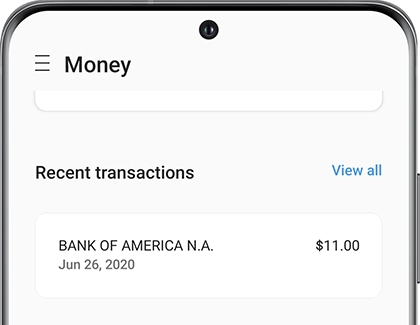
If you chose Later or if it takes a while for your new account to be approved, you can add money at a later time by going to the Money tab, and then tapping Add money. Follow the instructions in the previous step to link your account and transfer money.
If you have any questions about transactions or other concerns with your SoFi account, you can contact SoFi at (844)977-7634.
Activate your card
Once you've set up your account and added funds to it, a physical debit card will be mailed to the address you provided. When you get the card, you'll need to activate it in the Samsung Pay app before you can start using it in stores.
Open the Samsung Pay app, and tap the Money tab.
Swipe to Card on the way, and then tap I got my card.
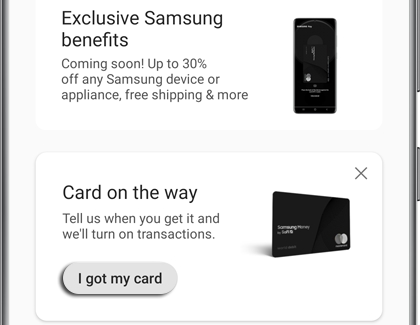
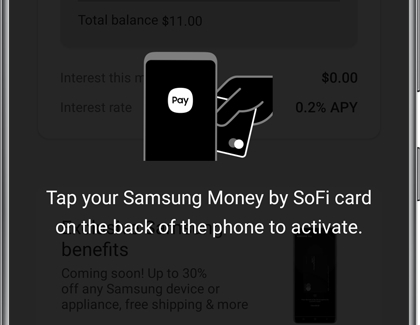
Tap your card on the back of the phone to activate.
Remove any covering, like protective cases or card holder pouches, from the back of the phone.
Make sure NFC is turned on. Navigate to and open Settings, and then tap Connections. Tap NFC and payment, and then tap the switch to enable or disable the option.
When tapping, place the upper portion of your phone (the camera area) onto the card’s chip. If you have a Galaxy Flip, tap your card towards the bottom of your phone instead.
Here are some helpful tips if your phone doesn’t register your card:
Got more questions about your SoFi Debit card? Check out the Frequently asked questions!
-
Mobile 8 AM - 12 AM EST 7 days a week
-
Home Electronics & Appliance 8 AM - 12 AM EST 7 days a week
-
IT/Computing 8 AM - 9 PM EST 7 days a week
-
Text Support 24 hours a day 7 Days a Week
Contact Samsung Support


