Replacing the Clean Station™ Dust Bag
 Please Note: The information on this page is for Australian products only. Models, sequences, error codes or settings will vary depending on location and/or where the product had been purchased. To be redirected to your local support page please click here.
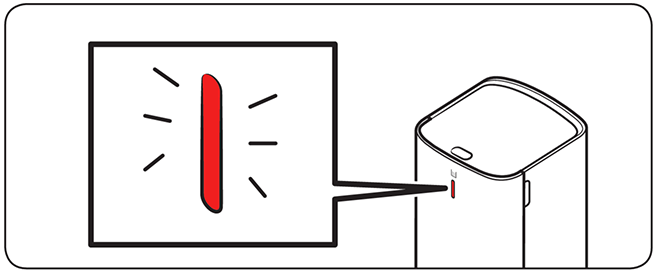
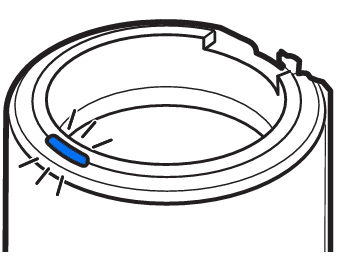
Keeping your Clean Station Dust Bag clean helps your Vacuum work to the best of its ability. Replacing the dust bag every 2 - 3 months is recommended to prevent odours. To ensure you don’t forget, a blue LED indication light on the front turns red when it’s full or due, so you can quickly and intuitively check the status of the dust bin.
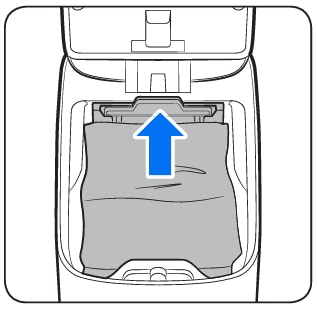
The Clean Station™ has a firm, airtight design from the inlet to the exhaust filter, and, the dust bag is designed to shut the opening hole with a plastic lid when pulling out from the Clean Station™, preventing dust from leaking out when replacing.
Follow the steps below for a guide on how to replace the dust bag.
*When the product status indicator turns red, you should replace the dust bag, as well as if it emits a bad odour despite being empty.
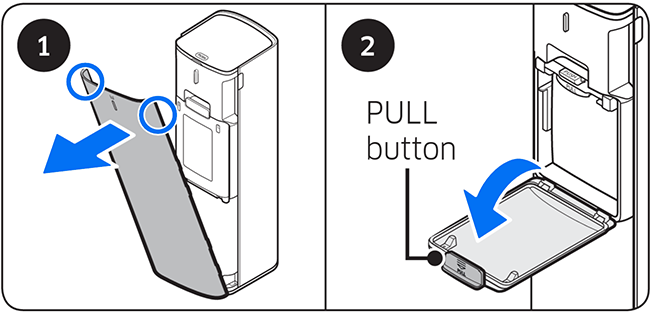
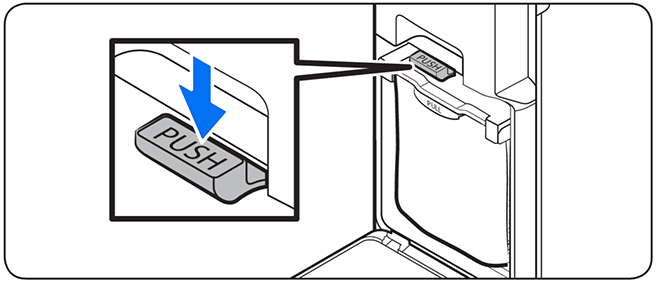
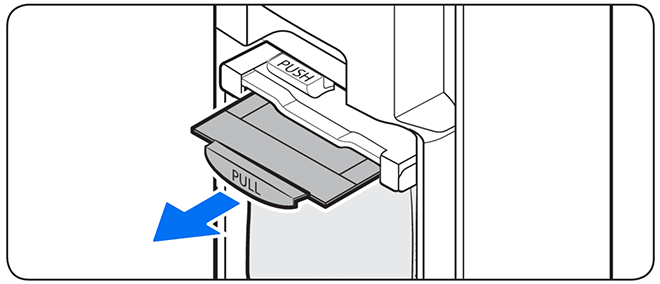
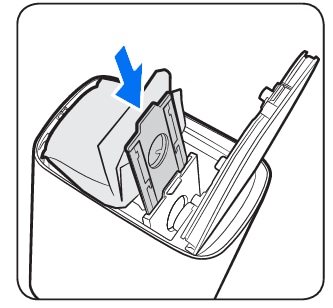
*Be cautious not to assemble incorrectly when inserting the dust bag.
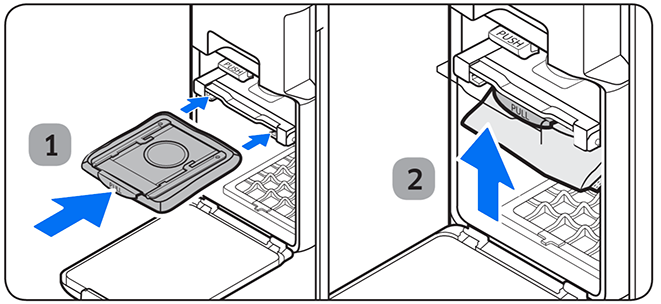
The status indicator should turn blue when you operate the clean station after a dust bag replacement.
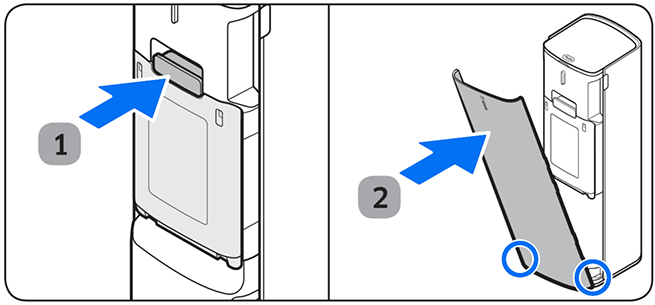
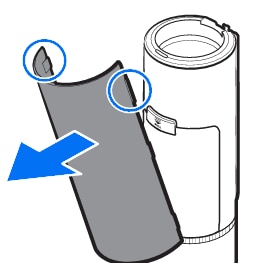
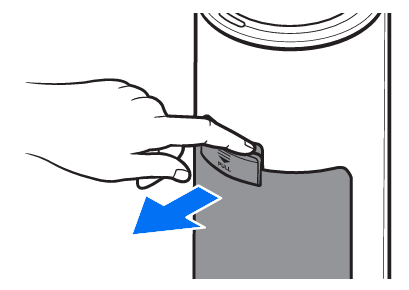

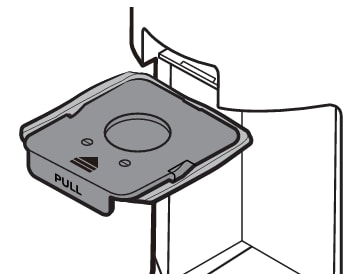
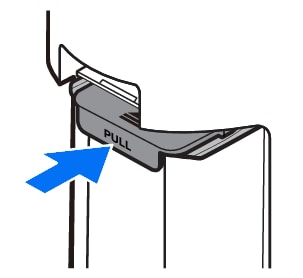
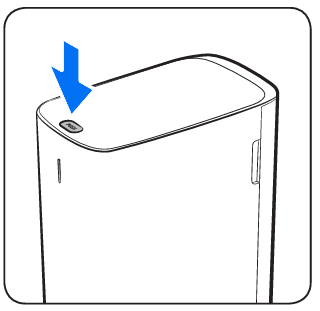
*If you do not pull the Dust Bag holder, you cannot replace the Dust Bag due to the safety mechanism.
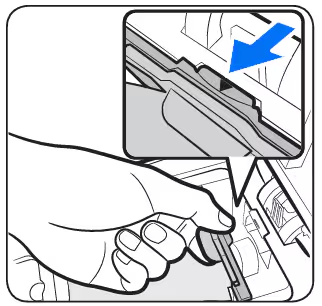
*Ensure you push the Dust Bag to the end.
For further assistance, please contact our Chat Support team. To find your Samsung product's User Manual, head to Manuals & Downloads.
Thank you for your feedback!
Please answer all questions.
Contact Info
Contact us
WhatsApp
![]()
![]()

