Setting Up & Using The Jet™ Stick
 Please Note: The information on this page is for Australian products only. Models, sequences, error codes or settings will vary depending on location and/or where the product had been purchased. To be redirected to your local support page please click here.
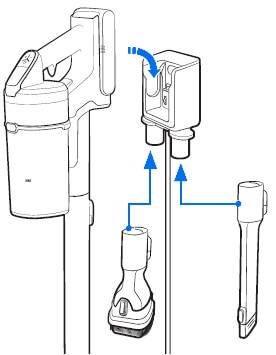
The Jet™ Stick vacuum has been designed for easier operation by having the buttons in a more convenient position. Not only that, the charging stand makes sure that your Jet™ Stick vacuum is ready in a moments notice, while also having a handy spot for you store the attachments.
To learn how to Clean the Dustbin and Filters, Click Here.
Simply follow the guides below to learn how to set up your Jet™ Stick vacuum.
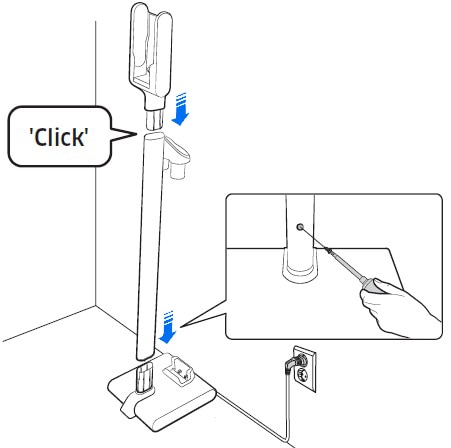
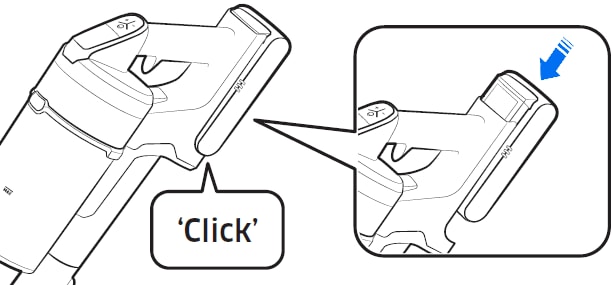
Note: Do not disassemble it after the assembly.
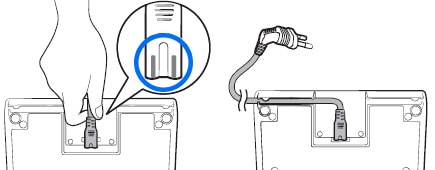
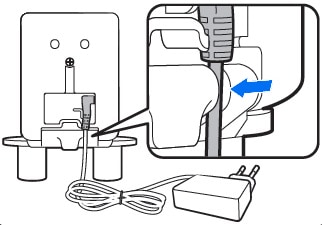
You will need to hold the connection part of the cord and push it onto the connection pins firmly until the grey lines on the tip of the cord are not visible. The charging stand can be installed closer to the wall by inserting the cord into the groove on the bottom of the bottom support.
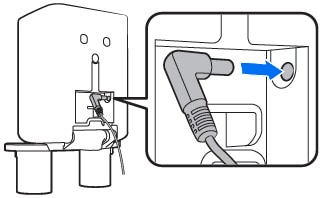
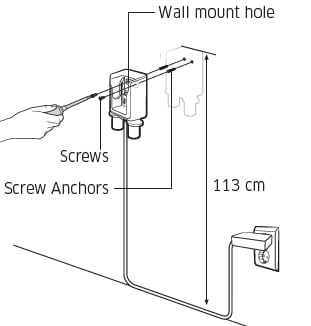
Fixing the hook


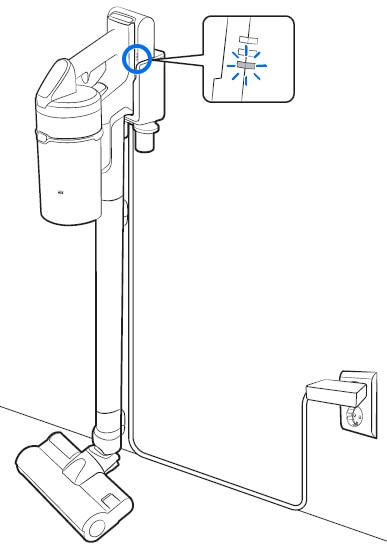
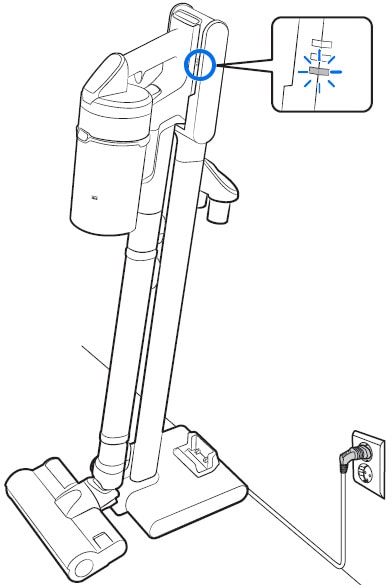
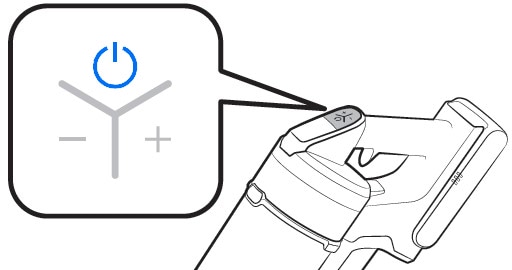
 power button to turn on your Jet™ Stick. The vacuum starts operation in ‘MID’ mode. However, when the wet brush is attached, the vacuum will start in ‘WET’ mode.
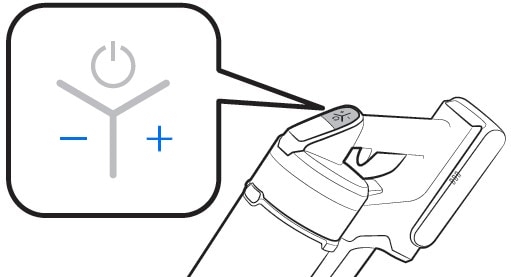
 ) button to increase suction power or press the (
 ) button to decrease the suction power. If you are operating the Jet™ Stick in ‘WET’ mode, the suction power control buttons will not be functional.
For further assistance, please contact our Chat Support. To find your Samsung product's User Manual, head to Manuals & Downloads.

Contact Info
Contact us
WhatsApp
![]()
![]()


