Use the HomePass app with SmartThings Wi-Fi
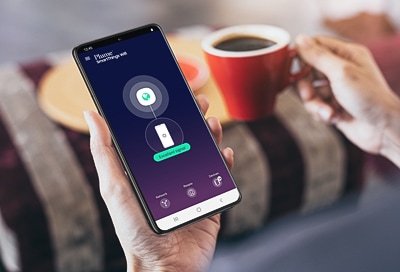
Everything you need for a seamless Wi-Fi experience can be found in the HomePass by Plume app (available for Android or iOS). It lets you check on your wireless network, manage guest access, and set up advanced settings, like port forwarding and using a custom DNS. You can view the bands and channels your Wi-Fi operates on, check your ISP speeds, or even freeze the internet temporarily to enforce your children’s bedtimes. Consider this your map to the HomePass app.
Note: The provided information refers to devices sold in Canada. The available screens and settings may differ for devices sold in other countries. You can visit the SmartThings website to check device compatibility and gather more information.
If you think of SmartThings Wi-Fi as a vehicle that gives you internet access, HomePass is like the gasoline that powers it! And the app makes it easy to monitor your wireless network and give it any tune-ups it may need.
Here is a quick lesson for you on how Wi-Fi works: bands contain groups of channels that are chosen by your router if it needs more speed or distance. Some bands can travel farther and through more objects, but are relatively slower, while others are faster but cover less distance. Channels are the lanes your data uses to move around the network.
HomePass helps keep your wireless network in shape by running speed tests, letting you monitor your broadband usage and downloaded data, and more. You can also see how Wi-Fi devices intelligently switch bands and channels. You can also create a guest network and change advanced network settings.
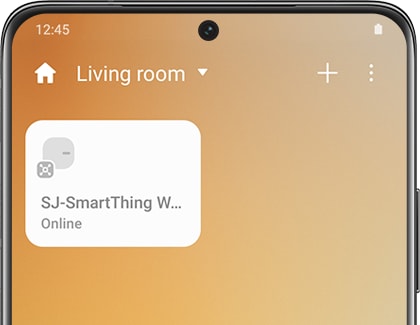
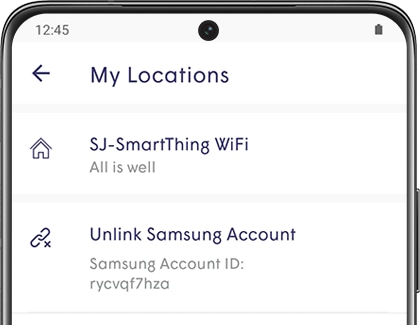
Note: Signing into a Samsung account or Plume account is required to use the HomePass app. Once you sign in, your SmartThings Wi-Fi is automatically recognized in the app. Your wireless network’s location, speed, broadband usage and more are instantly learned and available for you to view.
Note: You may be prompted to choose between the Play Store and the Galaxy Store to complete the download on Android.
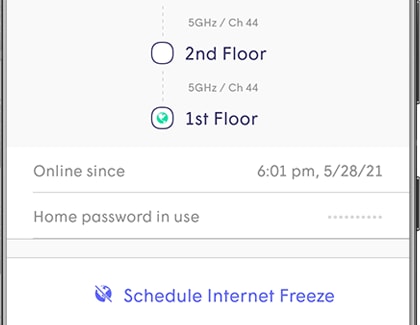
- Swipe left to see network information. To view the options for displaying Wi-Fi frequency bands and channel numbers, tap the Network Topology Layers icon at the bottom right - it is a blue icon with squares inside. Tap the switch next to "Show Wi-Fi Frequency Bands" to turn them on. Then, tap the switch next to "Include Channel Numbers", if desired. Now you will see what channel your Wi-Fi is on, as well as what bands it is using.
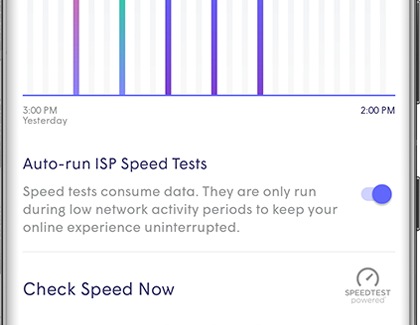
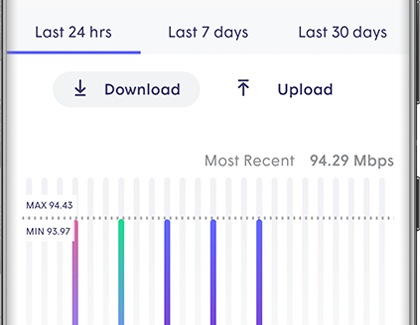
- Tap the hub to see a breakdown of your network speeds over time. You can also run a speed test and check how much data you have downloaded in the past 24 hours.
- Tap Devices in the bottom right corner; it will display the current number of devices connected to the network. Tap Home, Guest, or Internet Only. You can also tap a device to see bandwidth consumption and information like its MAC and IP address.
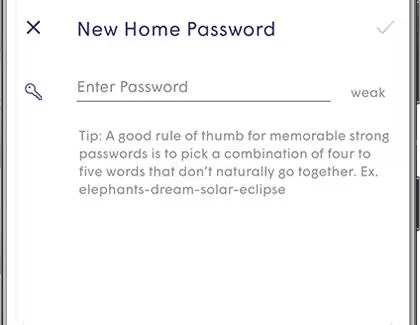
- Tap the Menu icon (the three horizontal lines) in the top left corner and then tap Access to view passwords created through Plume Homepass. You can create passwords to allow guest access.
- In the top left corner, tap the Menu icon to access Wi-Fi, SmartThings Wi-Fi Hubs, Advanced Settings, Support, and Account information.
Note: Worried your Wi-Fi might be getting a little sluggish? While that is practically impossible with SmartThings Wi-Fi, you can perform speed tests to make sure everything stays up to par.
Note: Wondering how much bandwidth you are using? You can quickly check on your network’s traffic in the HomePass app.
Note: When it is time to get your kids to bed, prevent them from sneaking the phone or tablet under the covers. You can freeze internet access until the end of the day, on school nights, or at bedtime. And you do not have to worry if you still want to use the internet; you can freeze access only for certain devices on your network.
Note: If you select School nights or Bed time, you can enter specific dates and times by tapping the drop-up menu above the options.
Note: If you are worried that the Wi-Fi may have gone out but you are not home, you can check the status of your hub at any time.
Thank you for your feedback!
Please answer all questions.
RC01_Static Content : Hide call number function