Using the Watermark Setting on my Galaxy device
Last Update date : Jan 12. 2026
The Watermark settings is a new useful feature available on the Galaxy devices operating on One UI 5.0. Once you have enabled this setting, you will be able to view the Watermark at the bottom of your newly captured photo. Refer to the below steps to learn how to enable the Watermark setting on your Galaxy Phone or Tablet.
Please Note: This guide is designed for Australian variant Galaxy devices, if you have an international device and require further support click here to get in touch with your Samsung subsidiary.
1
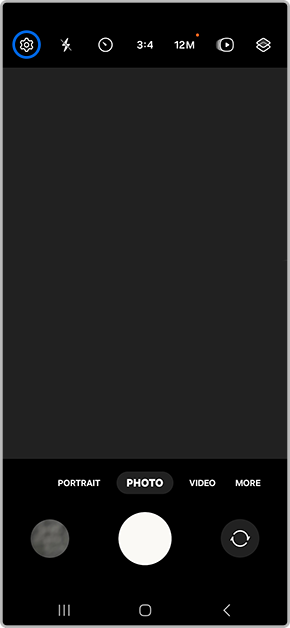
Launch the  Camera app
![Launch the camera app]()

2
Tap on the  Camera settings
![Tap on the Camera settings]()
3
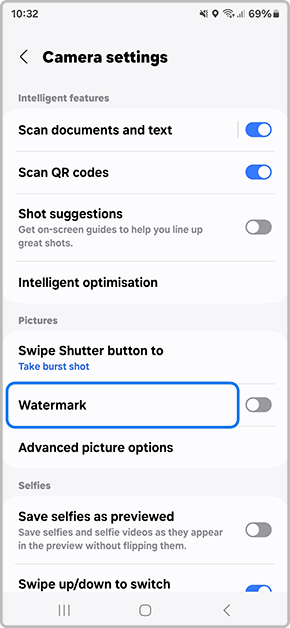
Tap on Watermark
![Tap on Watermark]()
4
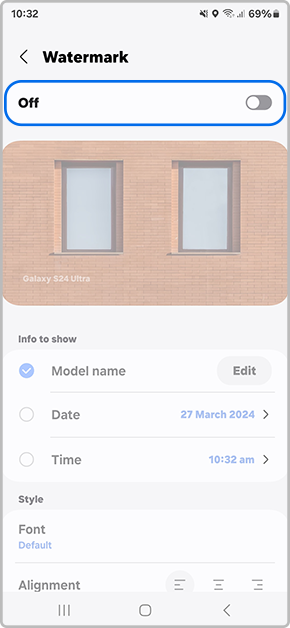
Toggle on the Watermark setting
![Toggle on setting]()
5
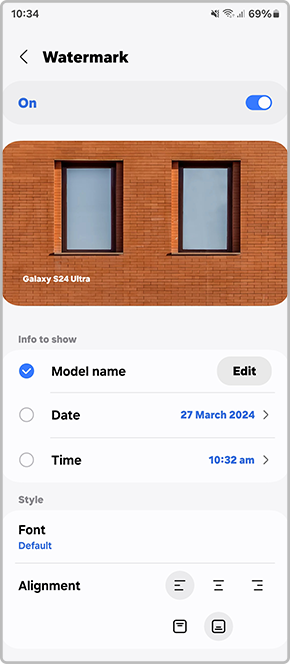
Adjust your Watermark settings
![Adjust Watermark settings]()
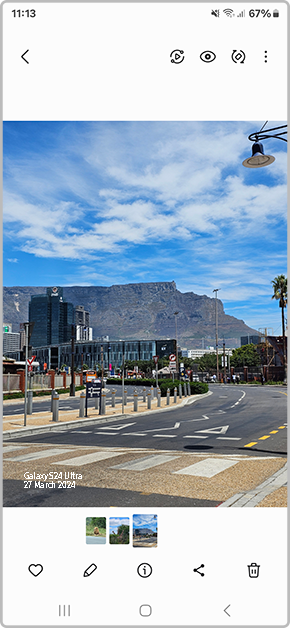
6
Once set up all newly captured pictures will show your Watermark
![View photo with watermark]()

Thank you for your feedback!
Please answer all questions.
Contact Info
Contact us
For support buying a product, help with an order or technical product support
WhatsApp
![]()
![]()
It's now even easier to get in contact with Samsung Customer Care, now on WhatsApp.
Troubleshoot and book a repair
Support for your mobile devices, home appliances, TV and computing products