How to use the camera on a Galaxy smartphone

Your smartphone is more than just a phone. It comes with a built-in professional-grade camera that's easy to use and there's a whole host of modes to help you capture every moment, from gorgeous selfies to stunning panoramas and spectacular slow-motion videos. Here you can learn about the key features of the camera on your Galaxy smartphone and find out how to use them quickly and easily.
Please note: The availability of certain features depends on the model of smartphone you have and the version of Android that it is running.
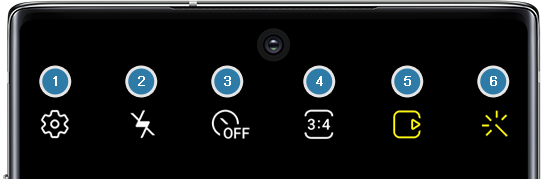
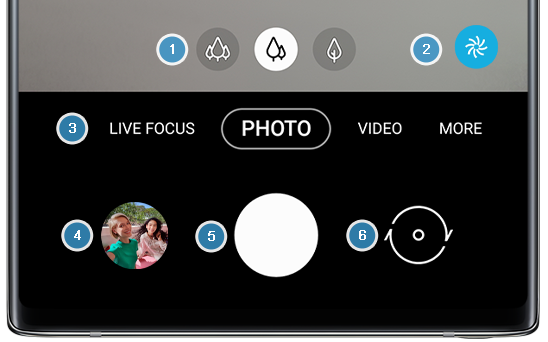
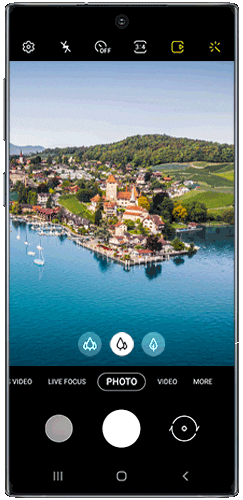
The camera screen of your Galaxy smartphone gives you direct access to the main features.
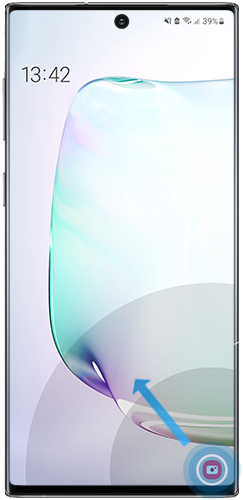
There are three ways to launch the camera: via the Lock Screen, using the Power button or via the Apps Screen.
Tap the camera icon at the bottom right of the screen and swipe up to launch the camera.
Please note: Some camera functions are not available when you start the Camera application from the locked screen or when the screen is turned off and you have set a locking method (PIN, scheme, etc.).
When "Quick Launch" is activated, you can press the Power button on your phone twice to launch the camera.
To activate Quick Launch:
If your device has a Power key (for example, S10):
- Launch the camera.
- Tap the Settings icon.
- Scroll down, then tap the switch to activate "Quick Launch".
If your device has a Side key (for example, Note10):
- Go to "Settings", then tap "Advanced Features".
- Tap "Side key".
- Tap the switch to activate “Double press", then select “Quick launch camera”.
Swipe up or down on the Home screen to access your apps, then tap the "Camera" app.

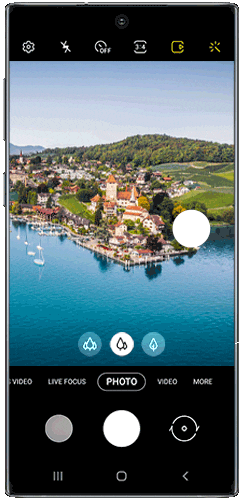
There are several ways you can take a photo on your smartphone: using the Volume key, using your voice, by tapping a shutter button on screen or by facing your palm to the screen.
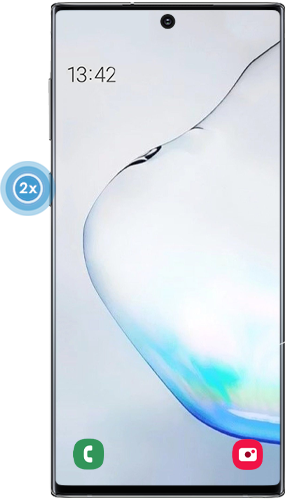
- Press Volume key to: choose the setting you would like to control using the Volume key. The available options are: "Take or record video", "Zoom" or "Control the System volume".
- Voice control: enable this option if you want to take a picture by saying specific keywords such as “Smile” or “Shoot”.
- Floating Shutter button: add another shutter button on the screen so you can press it easily. Once activated, tap and hold the shutter button, then drag it to your preferred location on the screen.
To remove it, you can drag it to the original shutter position or tap and hold the second shutter button again, then tap the Minus icon.
- Show palm: enable this option if you want to take selfie by facing your palm to your smartphone's screen.
You can view the photos and videos you take from the Gallery. Save them in a specific album, view photos by category or create stories. You can also share your best memories with your friends and family through various ways.
The Gallery on your smartphone has at least two albums: Cameras and Screenshots. Your pictures, videos, screenshots, screen recordings are automatically saved in an album.
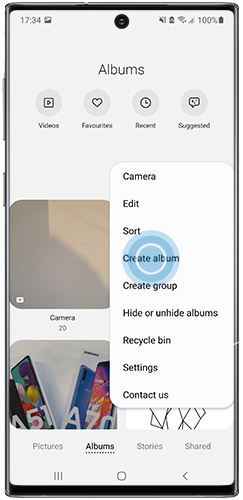
Create your own albums to organise your memories:
- Launch the Gallery app, then tap "Albums".
- Tap the More options icon (three vertical dots).
- Tap "Create album", name it and choose the files you would like to add to it.
When you record photos and videos, your device can automatically create stories by sorting images by date and location tag.
- Launch the Gallery app, then tap "Stories".
- Tap the More options icon (three vertical dots).
- Tap "Settings".
- Tap the switch to activate “Auto create stories”.

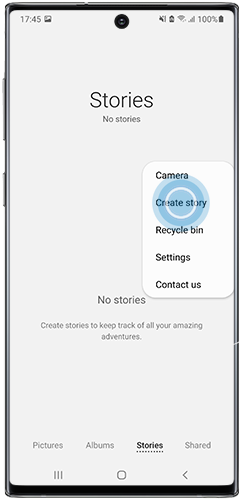
You can also create a story, by choosing the pictures and videos yourself:
- Follow the same steps as described above to display the options.
- Tap "Create story", enter a title and then select the photos you would like to add to the story.
To display your photos, videos and other creations by categories, go into “Pictures” or “Albums” and swipe down on the screen.
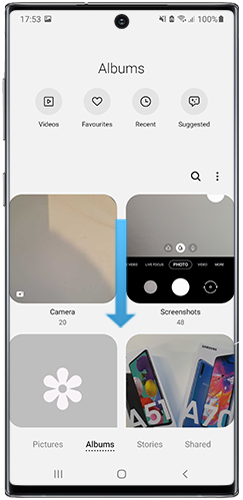
- Videos: access the videos saved on your device.
- Favourites: view your content that is tagged as "Favourites".
- Recent: display photos and videos you have taken recently.
- Suggested: find content such as GIFs and collages created from your pictures and videos.
If you would like to access your photos and videos on other devices, you can sync the Gallery app with OneDrive.
Please note: From June 2021, the Gallery Sync function and “My Files” storage will no longer be supported by Samsung Cloud. Instead, you can already back up your pictures and other data using Microsoft OneDrive. You will need to create an account to use this cloud storage service.
- Launch the Gallery app.
- Tap the More options icon (three vertical dots).
- Tap "Settings".
- Tap the switch to activate "Sync with OneDrive".

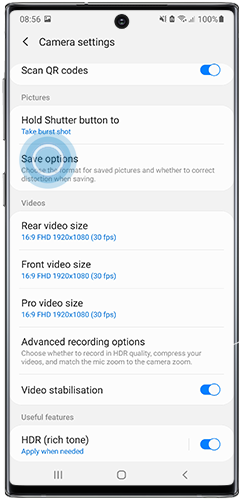
Choose the format you want to save your photos.
- Launch the Camera.
- Tap the Settings icon.
- Tap "Save options" in the Pictures section, then select your preferred format.
Thank you for your feedback!
Please answer all questions.