How to set up your new Premiere projector
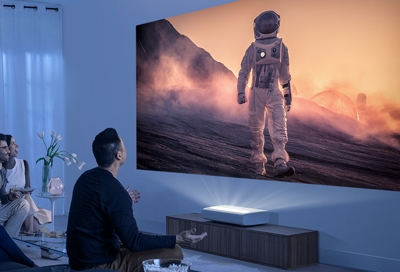
Have you ever wished you could have a movie theater in your own home? You can! Create a theater-like experience in your living room with the new Premiere projector. It projects 4K and HDR10+ video, giving you amazing image quality. You just need to make sure you set it up properly, so you get the image size and quality that you want.
A screen is not required to use the Premiere projector, but if you are looking for one, the Premiere Rollable Screen be found on our website.
Set up your projector
When you’ve picked a place to watch and project your movies, you can begin setting up your Premiere.
Place the projector at an appropriate distance from the wall it will project onto. Make sure the projector is sitting horizontally on a flat surface to prevent it from tilting or tipping over.
Connect the projector’s power cable to an outlet, and then turn it on by pressing the Power button at the rear of the projector.
When you turn on the projector for the first time, it starts the initial setup. Using the remote, follow the instructions displayed and configure the projector's settings to suit your viewing environment.
Adjust the projector’s angle by moving it left or right. Or, change the angle by adjusting the tilt-foot at the bottom of the projector.
Move the projector forward or backward to adjust the projection distance for your desired display size. For information about the available display sizes and the corresponding distance, please refer to the next section.
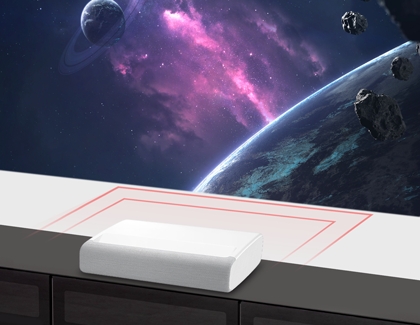
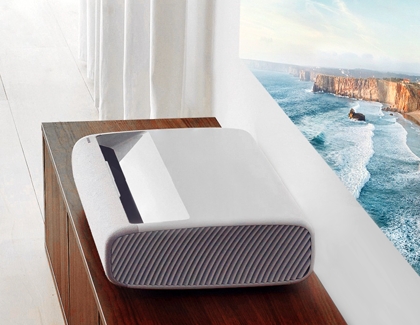
For an even more immersive viewing experience, connect a Samsung soundbar to the projector so it really feels like you are in a theater. Our setup guide can help you choose the best connection method for you.
How to find the best placement for your projector
If you've seen a projector in a classroom, you'll know that the projected image will increase or decrease in size depending on how close you place it to the wall. This applies to the Premiere projector as well. Below we have a comprehensive guide for getting the correct image size for your setup. The placement will be a little different depending on which Premiere model you have.
This diagram gives you a visual aid of how to set up your Premiere. The different letters represent the following:
A = The projector's distance from the wall.
B = The height of the display above the projector.
C = The size of the projection diagonally.
X = The size of the projection horizontally.
Y = The size of the screen or projection vertically.
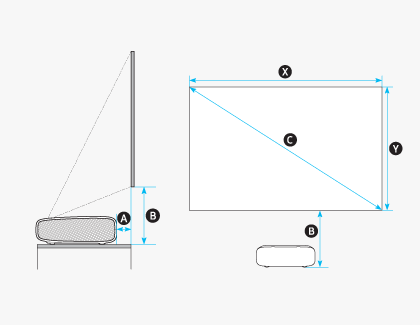
In the chart below, the display size is referring to the size in inches diagonally (C).
Where to place your SP-LSP7TFA
For a 90 inch display:
Place the projector 9.7 inches away from the wall (A).
The display will be 13.7 inches above the projector (B).
For a 95 inch display:
The display will be 10.8 inches away from the wall (A).
The display will be 14.3 inches above the projector (B).
For a 100 inch display:
Place the projector 11.9 inches away from the wall (A).
The display will be 14.9 inches above the projector (B).
For a 105 inch display:
Place the projector 13.0 inches away from the wall (A).
The display will be 15.5 inches above the projector (B).
For a 110 inch display:
Place the projector 14.1 inches away from the wall (A).
The display will be 16.1 inches above the projector (B).
For a 115 inch display:
Place the projector 15.2 inches away from the wall (A).
The display will be 16.7 inches above the projector (B).
For a 120 inch display:
Place the projector 16.3 inches away from the wall (A).
The display will be 17.3 inches above the projector (B).
Where to place your SP-LSP9TFA
For a 100 inch display:
Place the projector 4.4 inches away from the wall (A).
The display will be 13.8 inches above the projector (B).
For a 105 inch display:
The display will be 5.3 inches away from the wall (A).
The display will be 14.3 inches above the projector (B).
For a 110 inch display:
Place the projector 6.1 inches away from the wall (A).
The display will be 14.8 inches above the projector (B).
For a 115 inch display:
Place the projector 6.9 inches away from the wall (A).
The display will be 15.3 inches above the projector (B).
For a 120 inch display:
Place the projector 7.7 inches away from the wall (A).
The display will be 15.8 inches above the projector (B).
For a 125 inch display:
Place the projector 8.5 inches away from the wall (A).
The display will be 16.3 inches above the projector (B).
For a 130 inch display:
Place the projector 9.4 inches away from the wall (A).
The display will be 16.8 inches above the projector (B).
Other answers that might help
-
Mobile 8 AM - 12 AM EST 7 days a week
-
Home Electronics & Appliance 8 AM - 12 AM EST 7 days a week
-
IT/Computing 8 AM - 9 PM EST 7 days a week
-
Text Support 24 hours a day 7 Days a Week
Contact Samsung Support
